Crochet Sloth Pattern: The Ice Age Inspired Amigurumi That Stole My Heart
Make the most lovable slow-poke in the plushie world — a Sid-inspired crochet sloth that's far easier to finish than you'd expect.


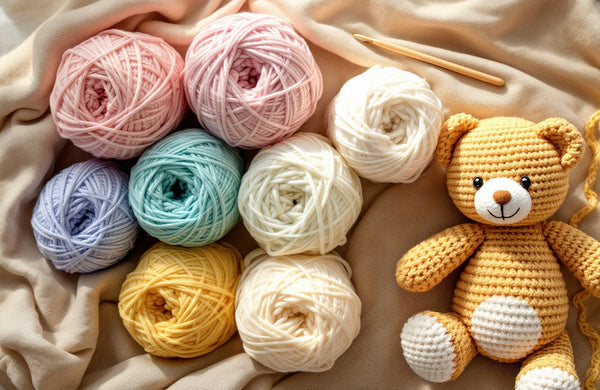
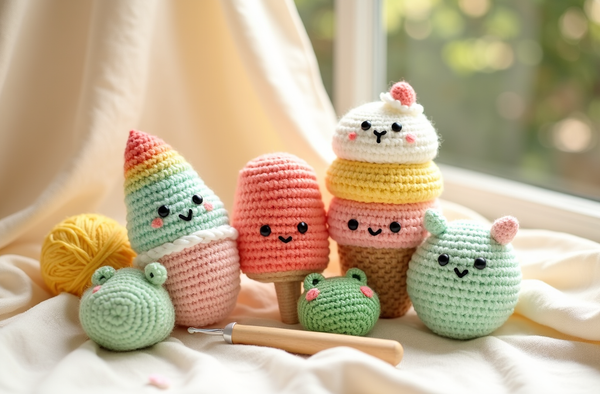
A peek at what you can make
There is something irresistibly charming about a sloth. Maybe it's the sleepy eyes, the long claws, or the permanent grin that says "I am exactly where I want to be." Whatever it is, the moment I finished crocheting my very first sloth amigurumi — a goofy, lovable creature clearly channeling Sid from Ice Age — I knew this pattern deserved its own spotlight.
Why a Sloth Makes the Perfect Amigurumi
Simple shapes, maximum personality — sloths are secretly ideal for new crochet makers.
Amigurumi animals can look intimidating, but sloths are actually one of the most beginner-friendly characters you can crochet. Their body is a soft oval, their limbs are simple tubes, and their face comes alive with just a pair of safety eyes and a few well-placed stitches. There are no tiny fiddly parts to sew on, no complex color changes mid-row, and no fancy stitch patterns to decode.
If you have already made your way through a basic easy amigurumi pattern for beginners, a sloth is the natural next step. The elongated arms give it character, and that slouchy posture means slight imperfections in your tension actually make it look more endearing.
What You Need Before You Start
Gather your supplies before you cast on your magic ring and you will breeze through this project without interruptions.
- Yarn: Light worsted weight (size 3 or 4) in warm brown, cream, and a darker shade for the face mask. For the softest finish, choose an acrylic blend — it holds its shape and washes beautifully. Read our guide on the best yarn for amigurumi if you are unsure which fiber to pick.
- Hook: A 3.5 mm (E/4) or 4 mm (G/6) hook. A smaller hook creates tighter fabric so the stuffing does not show through.
- Safety eyes: 12 mm black safety eyes give that wide, expressive Sid look. Learn how to place them perfectly in our safety eyes tutorial.
- Polyfill stuffing: Just enough to make the body firm but still squeezable. Check out how to stuff amigurumi for tips on getting even, wrinkle-free results.
- Yarn needle and scissors.
Key Stitches You Will Use
This pattern relies on the core amigurumi toolkit: single crochet, increases, and decreases worked in continuous rounds. If you need a refresher on shaping, our guide on how to increase and decrease in amigurumi covers everything you need.
The trickiest part for most beginners is keeping an accurate stitch count. Use a stitch marker at the start of each round and count before you move on. Struggling to keep track? Our article on how to count crochet stitches and rows will save you a lot of frustration.
"The sloth doesn't rush, and neither should you. Every slow stitch is a stitch made with intention."— Ava, MrsCrochetWorld
Patterns to Crochet Alongside Your Sloth
Once you catch the amigurumi bug, these bundles and patterns are the perfect next adventure.
Sid the Sloth – Ice Age Inspired Amigurumi PDF
Fan FavouriteThe star of this article! This detailed PDF pattern includes step-by-step photos, stitch counts for every round, and tips for nailing those expressive Sid eyes. A great project once you have the basics of how to read amigurumi patterns under your belt.
50 No-Sew Amigurumi Patterns Bundle
Best SellerFifty adorable creatures — zero sewing. This mega bundle is perfect if you fell in love with the sloth and want a whole cast of friends for it to hang out with. Explore more about the no-sew approach in our deep-dive on no-sew amigurumi techniques.

Dinosaur Amigurumi Bundle – 4 in 1
Character CollectionIf your sloth needs some prehistoric pals, this four-pattern dinosaur bundle is the answer. The same beginner-friendly construction — rounds, increases, safety eyes — in a whole new theme. A great companion to the full amigurumi collection.
Six Things That Make This Sloth Pattern Special
From the slouchy posture to those long, huggable arms, here is what sets this design apart.
Sid Personality Built In
The proportions — oversized head, long arms, wide-set eyes — are designed to capture that goofy Ice Age charm without needing a license or complicated color work.
Beginner-Friendly Construction
Every piece is crocheted in continuous rounds of single crochet. No joining rounds, no turning chains, no tricky stitches. If you can chain and single crochet, you can make this.
Minimal Sewing
The pattern uses a near-no-sew approach — limbs attach cleanly and the assembly guide shows exactly where to place each piece so it looks intentional, not wonky.
Clear Stitch Counts
Every round ends with a stitch count in brackets so you always know if you are on track. No more counting twenty times and still feeling unsure.
Step-by-Step Photos
The PDF includes process photos at each key stage — magic ring, face placement, arm attachment — so you can compare your work as you go.
Ready for Your Next Project?
Once your sloth is finished, keep the momentum going. Our complete beginner guide to crochet will help you level up your skills one stitch at a time.
Pro Tips for a Sloth That Looks Great
- Use a stitch marker from round one. Sloth pieces are worked in the round with no join, so marking the first stitch of each round is the easiest way to avoid drifting off-count.
- Go down a hook size if stuffing shows. If your stitches look loose and the white fill peeks through, switch to a hook that is half a millimetre smaller. Tighter fabric means a more polished finish.
- Place safety eyes before closing the head. It sounds obvious, but it is very easy to forget. Once the opening is stitched shut, adding or repositioning eyes becomes nearly impossible. See our full safety eyes guide for exact placement tips.
- Stuff firmly in layers. Add small amounts of polyfill as you go rather than all at once at the end. This prevents lumps and gives the body a smooth, even shape.
- Block the face mask lightly. A very gentle damp press on the cream face piece before sewing it on helps it lie flat and look intentional rather than puckered.
- Weave in ends securely. Run each tail through at least four stitches in two directions. A well-woven-in end is invisible and machine-wash safe. Our guide to weaving in ends shows the neatest technique.
Ready to Meet Your New Favourite Plushie?
Grab the Sid the Sloth PDF pattern and start crocheting today — or explore our full range of free patterns to warm up first.
Get a free patternShop amigurumi patternsFrequently asked questions
Is this crochet sloth pattern suitable for beginners?
Yes. The pattern uses only single crochet, increases, and decreases worked in continuous rounds — the standard amigurumi toolkit. If you have completed one or two small amigurumi projects before, you will find this very approachable. Total beginners should check out our beginner crochet guide first to build confidence.
What yarn weight works best for the sloth amigurumi?
A light worsted or DK weight yarn (size 3 or 4) paired with a 3.5–4 mm hook gives the firmest fabric and the cleanest stitch definition. Heavier yarn makes a bigger sloth but can look blobby; thinner yarn creates a tiny, fiddly project. Stick with worsted for the best result. Read our full yarn guide for amigurumi for fiber recommendations.
Can I make the sloth without safety eyes?
Absolutely. If the finished toy is for a child under three, sew on eyes using black yarn instead of using plastic safety eyes. Use a French knot for a small dot or satin stitch for a larger oval. The sloth will still look expressive and adorable, and there is zero choking hazard.
How long does it take to crochet this sloth pattern?
Most makers with basic amigurumi experience finish the sloth in four to six hours of project time spread over a couple of evenings. The body and head work up quickly; the limbs and face assembly add a little extra time. If you are newer to amigurumi, plan for a relaxed weekend project.
What size does the finished sloth turn out?
Using worsted weight yarn and a 4 mm hook, the finished sloth sits at approximately 8–10 inches (20–25 cm) tall when propped upright. A smaller hook or lighter yarn will reduce the size; heavier yarn increases it. Exact sizing depends on your personal tension.
Is this pattern no-sew?
The pattern uses a near-no-sew method — pieces are attached with minimal sewing using the yarn tail so you do not need to thread a separate needle and hide awkward knots. It is not entirely seam-free, but the assembly is straightforward and the joins are discreet. See our no-sew amigurumi techniques guide for more context.
Can I sell items I make from this pattern?
Yes, with the standard small-maker allowance that comes with the pattern purchase. You are welcome to sell finished sloths at craft fairs, on Etsy, or locally. You cannot resell or redistribute the PDF itself. Read our full article on selling items made from crochet patterns for details on what is typically permitted.
Where can I find more character-inspired amigurumi patterns like this?
Our amigurumi patterns collection includes fan-favourite characters from dinosaurs to fantasy creatures. The complete beginner guide to amigurumi is also a great place to start if you want to understand the craft before diving into a full character pattern.