How to Crochet a Magic Ring: The Beginner's Step-by-Step Guide
The magic ring is the secret to amigurumi with no hole in the middle. It looks tricky, but it's just a loop and a pull — and once it clicks, you'll use it on every toy you make.

If you've ever made a crochet circle that ended up with an annoying little hole in the centre, the magic ring (also called the magic loop or adjustable ring) is the fix. Instead of starting from a chain that you join into a fixed circle, you start with an adjustable loop — you work your first stitches into it, then pull the tail to cinch the centre completely closed. For amigurumi, where a visible hole would let the stuffing peek through, the magic ring is essential. It feels fiddly for the first minute and effortless forever after.
What you need first
The magic ring is a starting technique, so one earlier skill makes it painless.
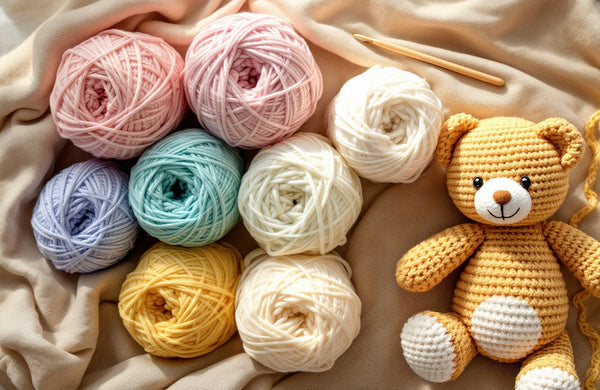
You'll mostly work single crochet into the ring, so being comfortable with that stitch helps. Most amigurumi then continue with the magic ring as the base of working in the round. A smooth (not splitty) yarn makes the loop much easier to handle while you learn — see our guide to the best yarn for amigurumi, and pick a comfy hook with our best crochet hooks for beginners.
How to make a magic ring, step by step
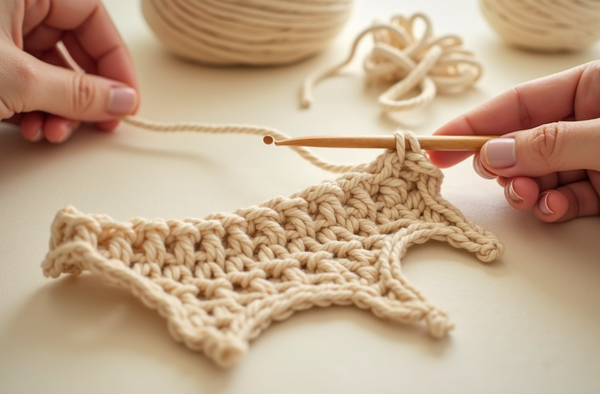
1. Make the loop. Drape the yarn over your fingers and wrap it around to form a loop, crossing the working yarn over the tail. 2. Insert your hook. Put the hook through the loop, catch the working yarn, and pull it back through so you have a loop on your hook. 3. Secure it. Chain 1 to lock the ring (this does not count as a stitch). 4. Work into the ring. Single crochet over both strands of the loop the required number of times — a typical amigurumi starts with 6 sc into the ring. 5. Cinch it closed. Gently pull the loose tail and the centre draws shut into a tidy, hole-free circle. 6. Join or spiral. Either join to the first stitch, or (more commonly for amigurumi) keep working in a continuous spiral, marking your first stitch.
Keeping your place after the ring
Because amigurumi is usually worked in a continuous spiral rather than joined rounds, pop a stitch marker in the first stitch of the round right after you close the ring. Move it up each round. This one habit prevents the most common beginner frustration — losing track of where a round begins. Then it's just increases and decreases to shape your creature; learn those in increases & decreases.
"The magic ring is the one technique beginners dread and then can't stop using. Give it three tries — by the fourth, your fingers just know it."— Ava, MrsCrochetWorld
Patterns to practise your magic ring
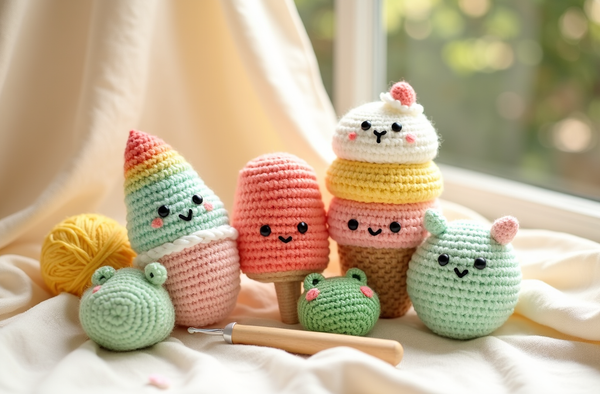
Every one of these starts with a magic ring — make a cute creature while the technique sinks in.

A free first try
Free · no-sewOur free no-sew giraffe begins with a simple magic ring — a zero-risk way to practise the start.

An easy first dino
Beginner · low-sewThe low-sew stegosaurus walks you from magic ring to finished toy with clear photos.

50 makes to master it
Best valueOur 50 no-sew amigurumi book gives you endless magic-ring practice in one download.
Magic ring troubleshooting
The three things beginners hit — and the easy fix for each.
It won't close fully
Make sure you worked your stitches over both strands of the loop, then pull the tail firmly. See why holes appear.
It comes undone
Weave the tail in securely after a few rounds, or give the tail a tiny extra tug and a knot if the yarn is slippery.
I lose the first stitch
Place a stitch marker in the first stitch of the round and move it up each round.
The yarn keeps splitting
Switch to a smooth, plied yarn while learning — fuzzy or loosely-spun yarn makes the loop hard to see.
Hate the magic ring?
There are easier starts that still close tightly — see magic ring alternatives.
Magic ring tips for a clean centre
- Work over both loop strands so the ring stays strong when you cinch it.
- Don't pull the tail until you've finished the round — close it only once all your first stitches are in.
- Chain 1 to start (it doesn't count), then place your stitches; don't accidentally count that chain as a stitch.
- Leave a tail of at least 6 inches so you have enough to weave in securely.
- Use a stitch marker from round one to keep your spiral on track.
- Practise three times in a row — muscle memory makes the magic ring feel automatic faster than almost any other crochet skill.
Start a cute creature with your new magic ring 🧶
Grab a free, beginner-friendly amigurumi and put it to use today — instant download, clear photos, US terms.
Get a free amigurumi Shop amigurumi patternsFrequently asked questions
How do you crochet a magic ring for beginners?
Wrap the yarn into an adjustable loop, insert your hook and pull up a loop, chain 1 to secure it, then work your first stitches (often 6 single crochet) over both strands of the loop. Finally, pull the tail to draw the centre closed.
What is a magic ring used for?
It's the starting technique for crocheting in the round, especially amigurumi. It lets you close the centre completely so there's no hole for stuffing to show through.
Why won't my magic ring close all the way?
Usually because the stitches weren't worked over both strands of the loop. Make sure you crochet over both, then pull the tail firmly and the centre will cinch shut.
Does the magic ring count as a round?
No. The stitches you work into the magic ring are round 1; the ring itself and the starting chain-1 are just the foundation and don't count as stitches.
My magic ring keeps coming undone — what do I do?
Weave the tail in securely once you've worked a few rounds. With slippery yarn, a tiny knot or an extra tug on the cinched tail helps it stay closed.
Is there an easier alternative to the magic ring?
Yes — you can chain 2 and work into the first chain, or use the "chain 4, join" method, though these can leave a small hole. See our magic ring alternatives guide for tighter options.
How many stitches go into a magic ring?
It depends on the pattern, but a very common amigurumi start is 6 single crochet worked into the ring, then increased on the next rounds.
Do I join or spiral after the magic ring?
For amigurumi you usually work in a continuous spiral (no joining), marking the first stitch of each round. Some flat patterns join each round with a slip stitch instead.