More than just stitches: 5 playful lessons amigurumi teaches us about crochet (and life)
Two little eyes, a round body and a dash of color: every amigurumi you make quietly teaches you something about your hook, your yarn and your own patience. Here are five lessons worth keeping close.


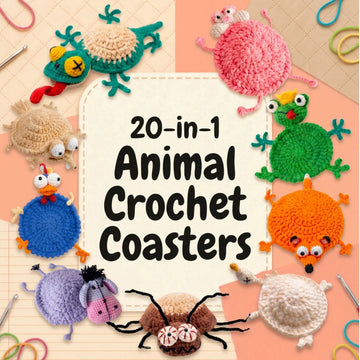
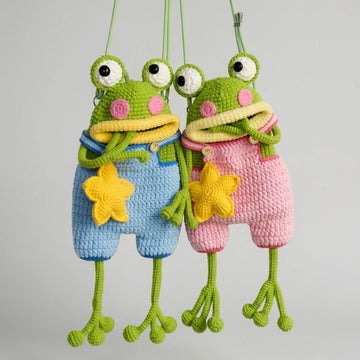
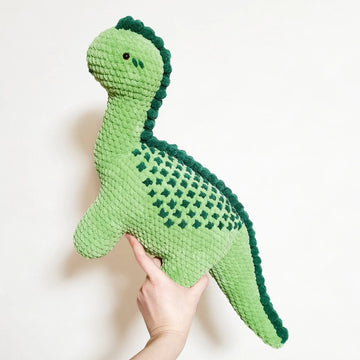
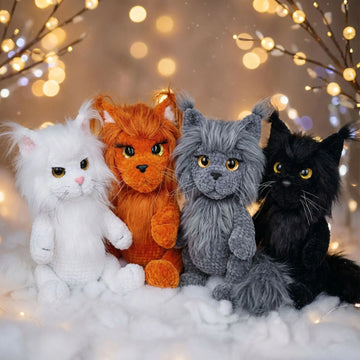
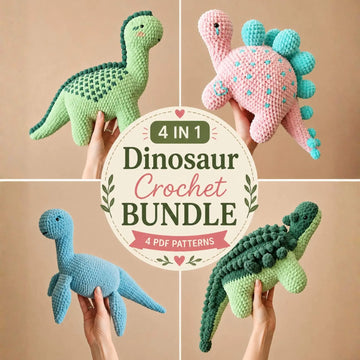
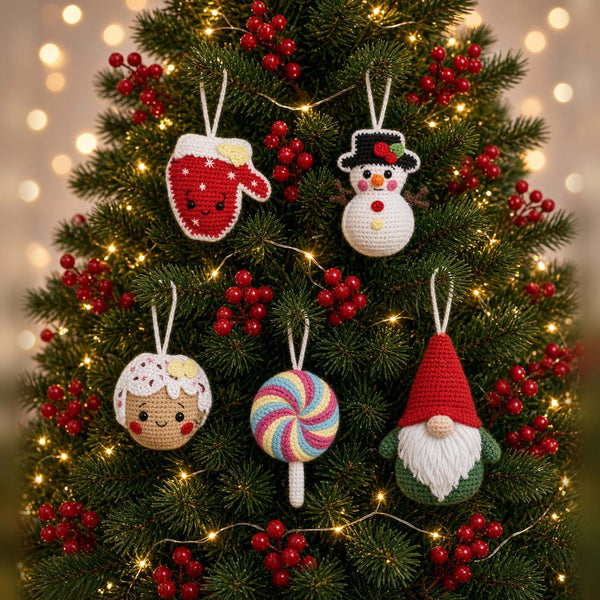
A peek at what you can make
Amigurumi looks simple from the outside: some yarn, a hook, a little stuffing and a pair of eyes. Then you make your first one and discover that a tiny shift in eye placement changes the whole mood, that a wobbly ear can be the cutest part, and that a lonely little creature somehow asks for a friend. Here are five playful lessons for crocheters of every level.
Lesson 1: Personality lives in the tiniest details
Two eyes, a few embroidered stitches and the space between them decide whether your amigurumi looks sleepy, shy or mischievous.
A toy’s personality lives mostly in its face. Eyes set low and wide apart read as sweet and baby-like, while eyes placed higher and closer together look more alert. A short stitch of black yarn becomes an eyebrow, a tiny embroidered V becomes a smile, and a soft pink oval under each eye adds rosy cheeks.
Test before you commit. Mark the spots with pins, or push the safety eyes through without their washers and look at the face from across the room. Once a washer clicks on, it is very hard to remove. For babies and toddlers, embroider the eyes with yarn instead, since small hard parts can become a choking hazard if they work loose. Want a different face, color or size? Read how to customize a crochet pattern.
Lesson 2: Imperfection is part of the charm
A slightly tilted head or one ear that sits a little higher is not a flaw. It is proof that a person made this, stitch by stitch.
When you are new to crochet, it is easy to compare your first amigurumi with polished photos. Your tension may wobble, your magic ring may leave a tiny gap, and the head may come out more oval than round. That is perfectly okay. Handmade toys are loved precisely because no two are identical.
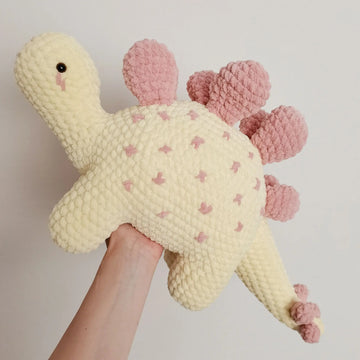
Just tell charming quirks apart from real problems. A tilted ear is personality; stuffing peeking through gaps needs a fix. For uneven stitches, read how to get even crochet tension. If you spot a mistake a few stitches back, how to fix crochet mistakes shows calm, simple solutions. And if you want to give your crocheted dinosaur a tiny crown, go for it. Your style is a feature, not a bug.
"The best amigurumi you will ever make is the one that looks like you made it — because you did."— Ava, MrsCrochetWorld
Lesson 3: Every character needs a friend group, so make sets
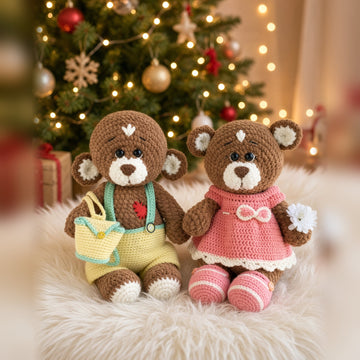
One amigurumi is cute. Two side by side start telling a story. A little family on a shelf is pure joy.
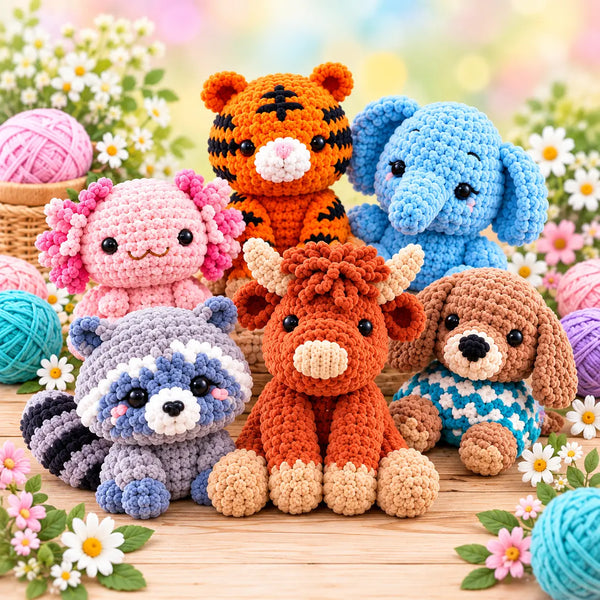
Something special happens when you crochet characters in groups: a big cat with a tiny kitten, a little zoo of mismatched animals, a row of heroes ready for adventure. Sets also grow your skills, because you repeat the core techniques while changing one thing each time. Learn how to crochet ears and how to crochet an animal body, and you can mix those building blocks into a whole crew of friends.
To make a set look like it belongs together, keep the yarn weight, hook size and eye size the same, so every member stays in scale. Then let color, markings and one signature detail make each one unique. Our easy amigurumi patterns for beginners are full of first friends for your group.
Lesson 4: Patience, one round at a time
Amigurumi grows in spirals. You cannot rush a sphere; you can only count, trust the pattern and keep going.
Almost every amigurumi starts with a magic ring and rounds of increases until a flat circle cups into a dome. Even rounds build height, and decreases close the shape again. If crocheting in the round is new to you, practice on a simple ball first. Place a stitch marker in the first stitch of every round and count at the end of it; that one habit prevents most lopsided heads.
Stuff your amigurumi little by little as you close it, and pin parts in place before you sew amigurumi parts together, so you can check the symmetry. If a project does not work out, set it aside and try again with fresh eyes. The skills stack up faster than you think.
Patterns that put these lessons into practice
Each bundle gives you a whole group of designs to practice faces, sets and round-by-round patience.

16-in-1 Chonky & Tiny Cats Crochet Pattern Bundle PDF
A ready-made familySeven chonky cats and nine tiny kittens, so you can crochet grown-up cats and their little ones side by side. Each pattern has its own colors, markings, ears, tails and embroidered facial details, with row-by-row guidance, color-change information and step-by-step photos.

20-in-1 Cuddly Animals Crochet Pattern Bundle
Mix-and-match friendsTwenty amigurumi animal patterns in one digital PDF, with step-by-step instructions in US crochet terms. The animals shown include a highland cow, platypus, capybara, raccoon, tiger, unicorn, elephant and hippo: a perfect mismatched friend group. Find more in our amigurumi collection.
50-in-1 No-Sew Amigurumi Bundle — Crochet Pattern PDF
Beginner-friendlyMore than 50 mini plushies and characters, plus Christmas hats and scarves and small plush keychains of about 8–10 cm (3–4 in), in one 240-page PDF eBook. Worked in plush chenille yarn with a 3.75 mm hook, in US crochet terms. Explore no-sew amigurumi techniques to see how it works.

6-in-1 Fantasy Amigurumi Bundle — Crochet Pattern PDF Download
Your next stretch projectSix collectible hero figures, including a wise old wizard and a sharp-eyed archer, in a step-by-step PDF with detailed photos. Written in US crochet terms for intermediate crocheters, with shaping, assembly and finishing tips. Brush up with our complete amigurumi guide first.
Lesson 5: Play and humor keep you crocheting
The crocheters who stick with it are rarely the most disciplined ones. They are the ones who keep having fun, and practice makes their stitches even.
Give every make a name
Naming your amigurumi while it is still a half-finished head builds attachment and makes you more likely to finish it, even when the rounds get slow.
Dress them up
Tiny scarves, overalls and dresses add instant humor. The 3-in-1 Raccoon Bundle includes clothes such as overalls, a ruffled dress and scarves.
Play with color
Crochet the same pattern in an unexpected palette. Read about yarn choices for amigurumi before you buy, so your bright idea also holds its shape.
Set up a mini photo shoot
Group your finished set on a windowsill and take a picture. Learning how to photograph amigurumi makes your pieces look as good on screen as in your hands.
Make someone smile
A handmade amigurumi is one of the most personal gifts you can give. Browse 15 crochet gift ideas for quick projects that bring real joy.
Start from the very beginning
New to crochet entirely? Our complete beginner guide walks you through hook, yarn and first stitch in one friendly place.
5 common amigurumi mistakes (and easy fixes)
- Losing count in the spiral. Amigurumi is usually worked in a continuous spiral. Move your stitch marker up every round and count before you start the next one.
- Fixing safety eyes too late. The washer sits on the inside, so place safety eyes before you finish stuffing and close the head.
- Under-stuffing the neck. A soft neck lets the head flop forward. Press small amounts of stuffing firmly into narrow areas.
- Using the hook size on the yarn label. Amigurumi needs a tight fabric, so most patterns call for a smaller hook; otherwise the stuffing shows through.
- Mixing yarn weights within one set. Different weights change the size of every piece, so keep yarn, hook and eye size the same across a set.
Ready to crochet your next little friend group?
Pick a set of characters and start round one today, or browse our beginner-friendly collection for the pattern that makes you smile widest.
Browse amigurumi patternsShop beginner patternsFrequently asked questions
Do I need any experience to start making amigurumi?
No prior experience is required, but it helps to know the basics: chain stitch, single crochet and working in the round. Our beginner crochet guide covers everything you need before your first amigurumi.
Should I use safety eyes or embroidered eyes?
Safety eyes look neat and are quick to attach, but they must go in before you close the piece, because the washer locks on the inside. For toys meant for babies and toddlers, embroidered eyes are the safer choice, since small hard parts can become a choking hazard if they work loose. Our guide on how to add safety eyes shows the placement step by step.
How do I give my amigurumi a cute expression?
Most of the expression comes from eye placement. Eyes set low and wide apart tend to look sweet and young, while eyes set higher and closer together look more alert. Test the position with pins first, then add small embroidered details such as eyebrows, a smile or rosy cheeks.
What yarn is best for amigurumi?
Worsted-weight acrylic and cotton are both popular. Acrylic is soft, affordable and comes in a huge color range, while cotton gives crisp stitch definition. Read our comparison of cotton vs acrylic for amigurumi to find what suits your project.
How do I keep my amigurumi from having holes between stitches?
Use a hook one or two sizes smaller than the yarn label recommends to create a tighter fabric. Our crochet hook sizes chart helps you choose. If you still see holes, read our guide on why amigurumi gets holes for specific fixes.
How firmly should I stuff amigurumi?
Stuff firmly enough that the piece holds its shape without stretching the stitches; the stuffing should not be visible through the fabric. Add it in small amounts as you close up, especially in narrow areas like the neck. See how to stuff amigurumi for more tips.
How do I make a set of amigurumi look like it belongs together?
Use the same yarn weight, hook size and eye size for every character so they stay in scale, then vary colors, markings and one signature detail. Bundles with several matching designs, such as our 16-in-1 Chonky & Tiny Cats Crochet Pattern Bundle, are an easy way to start.
Can I sell amigurumi I make from a PDF pattern?
It depends on the license that comes with the pattern, so always read the pattern notes before you sell finished items. Our article on selling items made from crochet patterns explains what to look for.