How to Crochet in the Round: The Complete Beginner's Guide
Circles, hats, baskets and every amigurumi start the same way — worked around and around instead of back and forth. Here's exactly how to do it, both ways.

Most beginners start by crocheting flat rows, turning at the end of each one. But the moment you want a hat, a basket, a coaster or a cute stuffed animal, you need to crochet in the round — working continuously around a central point so your fabric grows into a circle or a tube. It sounds advanced, but it's built from the same basic stitches you already know. There are two ways to do it, and once you understand the difference, every circular project in the world opens up.
Start with the centre
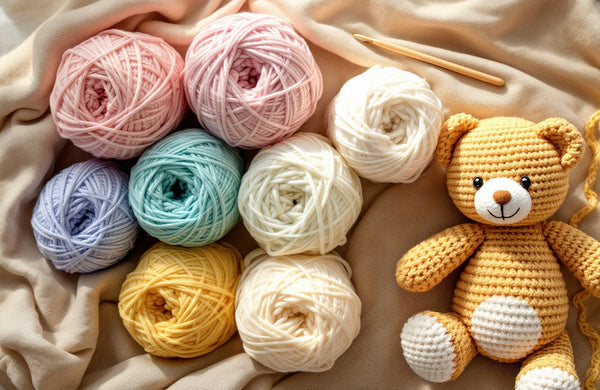
Every round project begins by creating a small starting ring to work into.
The tidiest start is a magic ring, which you can pull completely closed so there's no hole — essential for toys. Alternatively you can chain a few and join them into a ring, or chain 2 and work into the first chain. From there you'll mostly use single crochet (for amigurumi) or taller stitches (for flat circles), so those are worth knowing first.
Method 1 — the continuous spiral (for amigurumi)
For toys and anything 3D, you work in a never-ending spiral: after the first round, you simply keep crocheting into the next stitch without joining or turning. Because there's no obvious "start" to each round, you place a stitch marker in the first stitch of the round and move it up as you go. The spiral creates a smooth, seamless tube with no visible join line — exactly what you want for a neat amigurumi body.
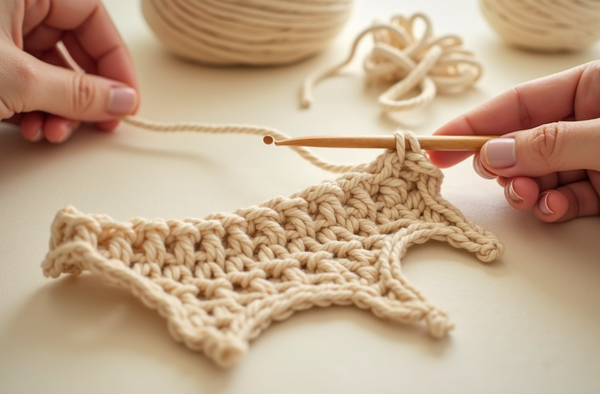
Method 2 — joined rounds (for flat circles & hats)
For flat circles (coasters, mandalas) and hats, you usually join each round: at the end, slip stitch into the first stitch, chain up to start the next round, and often turn. This gives a defined round with a small seam, which is fine for flat work. The key to a flat circle is the increase rhythm: a circle of single crochet typically starts with 6 stitches and adds 6 evenly every round (6, 12, 18, 24…). Too few increases and it cups into a bowl; too many and it ruffles. If yours is curling, see why crochet curls.
"Working in the round is the doorway to amigurumi. Once a flat circle turns into a little cup in your hands, you understand how every toy is shaped."— Ava, MrsCrochetWorld
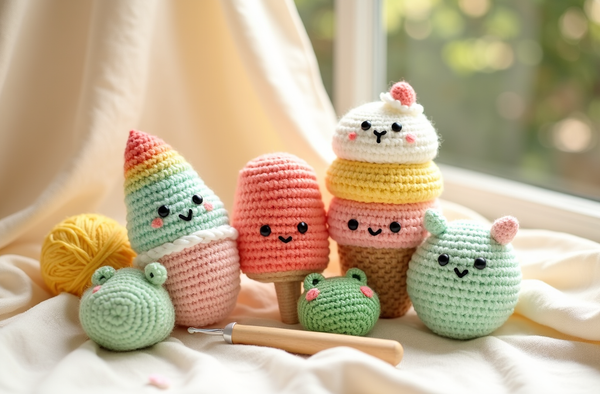
Round projects to learn on
Amigurumi and round bags are the perfect way to practise — every one starts in the round.

A free spiral start
Free · spiralOur free no-sew hedgehog is worked in a continuous spiral — ideal first practice for Method 1.

A flat-circle bag
Beginner · joined roundsThe Marigold circle bag is a big flat circle — perfect for mastering the increase rhythm of Method 2.

Shape a 3D toy
Beginner · low-sewThe stegosaurus shows how increases and decreases in the round sculpt a real shape.
Spiral vs joined — at a glance
Pick the method that matches your project.
Spiral
No join, no turn — a seamless tube. Best for amigurumi and 3D toys.
Joined rounds
Slip-stitch join each round — a defined edge. Best for flat circles & hats.
Stitch marker
Essential for spirals — mark the first stitch of each round so you never lose your place.
Crocheting in the round — tips that prevent frustration
- Always use a stitch marker in a spiral, and move it up each round — it's the single best habit for round work.
- Keep increases even (e.g. +6 per round for sc circles) so the work lies flat instead of cupping or ruffling.
- Start with a magic ring for toys so the centre closes with no hole.
- Don't accidentally turn in a spiral — keep working in the same direction the whole time.
- For amigurumi, go down a hook size so stitches are tight and stuffing won't show.
- Count each round against the pattern's stitch count to catch a missed increase early.
Make your first round project 🧶
Start with a free, beginner-friendly pattern worked in the round — instant download, clear photos, US terms.
Get a free pattern Shop amigurumi patternsFrequently asked questions
How do you crochet in the round for beginners?
Start with a magic ring or a small ring of chains, work your first round of stitches into it, then continue around — either in a continuous spiral (marking the first stitch each round) or by joining each round with a slip stitch. Increase evenly to keep the work flat.
What's the difference between spiral and joined rounds?
In a spiral you keep crocheting around without joining or turning, creating a seamless tube (great for amigurumi). In joined rounds you slip stitch to close each round, creating a defined edge (great for flat circles and hats).
Why is my flat circle cupping or ruffling?
It's the increase count. Too few increases makes it cup into a bowl; too many makes it ruffle. A single-crochet circle usually needs 6 increases evenly spaced each round.
Do I need a stitch marker to crochet in the round?
For spirals, yes — it marks the first stitch of each round so you don't lose your place. For joined rounds it's optional since the slip-stitch join shows where each round begins.
How do I start crocheting in the round?
The neatest start is a magic ring, which closes with no hole. You can also chain a few stitches and join into a ring, or chain 2 and work your first round into the first chain.
Should amigurumi be worked in a spiral or joined rounds?
Almost always a continuous spiral, because it leaves no visible seam line — giving toys a smooth, professional finish.
How do I keep track of which round I'm on?
Move your stitch marker up each round and tick off the round in your pattern (or use a row-counter app). Counting stitches per round also confirms you're on track.
Can I crochet a hat in the round?
Yes — hats are a classic round project. You start with a flat circle for the crown, then stop increasing to work straight down the sides into a tube.