How to Crochet a Chain Stitch: The Absolute Beginner's Guide
Every crochet project begins with a chain. It's the first thing you'll ever make — the foundation that everything else is built on — and it takes about two minutes to learn.

If you're picking up a hook for the very first time, the chain stitch (US ch) is where your crochet journey begins. It's a simple row of interlocking loops that forms the foundation chain — the base you build your first stitches into. Chains also do quiet, important jobs throughout a pattern: they create turning chains at the end of rows, spaces in lacy designs, and the gaps in a granny square. Learn this one little move and you've taken the real first step into crochet.
First, make a slip knot
Every chain starts from a single loop on your hook — the slip knot.
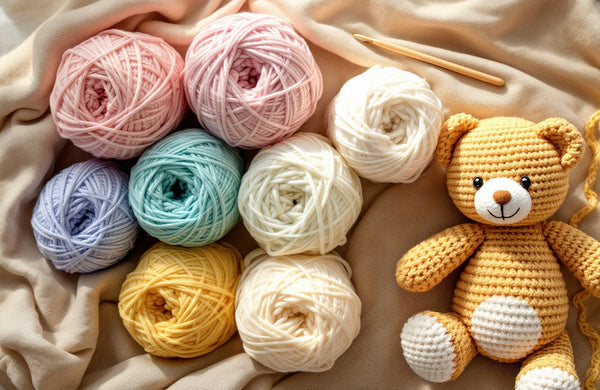
If you haven't already, learn to make a slip knot and to hold your hook comfortably. A smooth, light-coloured beginner yarn makes your first chains much easier to see and count.
How to crochet a chain, step by step
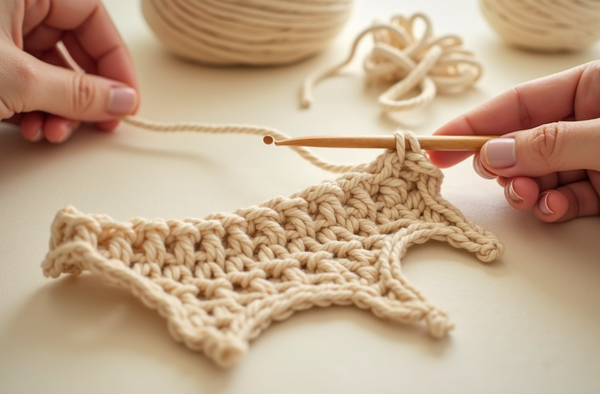
1. Start with a slip knot on your hook, snug but not tight. 2. Yarn over. Wrap the working yarn over the hook from back to front. 3. Pull through. Draw that yarn through the loop already on your hook. You've made one chain. 4. Repeat. Yarn over and pull through again for each additional chain, until you have the number your pattern asks for. Keep the loops loose and even — chains that are too tight are the most common beginner struggle, because it makes the next row very hard to work into.
Counting chains (this part matters)
Each chain looks like a little "V". Count the Vs along the front — but don't count the loop on your hook, and don't count the slip knot. When a pattern says "ch 15", you want 15 Vs. Patterns also use chains as turning chains (to bring your work up to the right height before the next row) and as chain spaces (the gaps you work around in lace and granny squares). Understanding how to read these is covered in how to read a crochet pattern, and counting is in counting stitches & rows.
What comes next
Once your foundation chain is made, you work your first row of stitches into it — usually single crochet or double crochet. That's the whole shape of crochet: chain a foundation, then build rows (or rounds) of stitches on top.
"The chain is humble, but it's everything. Get your chains loose and even and the rest of crochet suddenly feels easy."— Ava, MrsCrochetWorld
Your very first projects
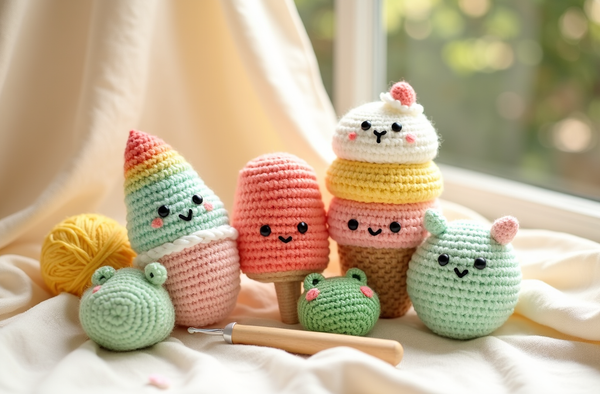
Once you can chain, you're moments from your first real make. These beginner patterns start exactly where you are now.

Start free
Free downloadPick a free beginner pattern and follow it from the very first chain — no risk, all the joy.

A gentle first toy
BeginnerOur low-sew stegosaurus is written for first-timers, with clear photos for every step.

Grow your skills
Beginner collectionWhen you're ready for more, our easy beginner patterns take you step by step.
What chains are used for
This one stitch quietly does several jobs in every pattern.
Foundation chain
The starting base you work your first row of stitches into.
Turning chain
Chains at the end of a row that bring your work up to the height of the next stitch.
Chain stitch tips for a perfect foundation
- Keep your chains loose and even — tight chains are the #1 beginner struggle and make the first row painful.
- Don't count the loop on your hook or the slip knot when counting chains.
- Keep the front of the chain facing you so the little "V"s are easy to see and count.
- If your first row is hard to work into, go up a hook size just for the foundation chain, then switch back.
- Add a chain or two extra if you tend to chain tightly — you can undo any spare at the end.
- Relax your grip — even tension starts here and makes every later stitch easier.
You've made your first stitch — keep going 🧶
Grab a free, beginner-friendly pattern and build on your chain today — instant download, clear photos, US terms.
Get a free pattern Shop beginner patternsFrequently asked questions
How do you crochet a chain for beginners?
Start with a slip knot on your hook, yarn over (wrap the yarn over the hook), and pull it through the loop on your hook. Each pull-through makes one chain stitch. Repeat for as many chains as your pattern needs.
What does ch mean in a crochet pattern?
"ch" is the abbreviation for chain. "ch 15" means make 15 chain stitches. Chains are used for the foundation, turning chains, and chain spaces.
How do you count chain stitches?
Each chain looks like a little "V" on the front of the work. Count the Vs, but do not count the loop currently on your hook or the slip knot at the start.
Why are my chains so tight?
Tight chains usually come from gripping the yarn too hard. Relax your tension, or go up one hook size just for the foundation chain — tight chains make the first row very hard to work into.
What is a foundation chain?
It's the starting row of chains that you work your first row of stitches into. Almost every flat crochet project begins with one.
What is a turning chain?
It's one or more chains made at the end of a row to bring your hook up to the height of the next row's stitches before you turn and continue.
Do I count the slip knot as a chain?
No. The slip knot and the loop on your hook are never counted as chain stitches — only the completed "V" loops count.
What can I make after learning the chain?
The chain is the gateway to everything. Next, learn single and double crochet, and you can make scarves, washcloths, granny squares, bags and amigurumi.