How to hold a crochet hook — 3 methods for beginners
Find the grip that feels right for you, prevent hand fatigue, and start crocheting comfortably from day one.

Nobody tells you that picking up a crochet hook for the first time can feel wonderfully awkward. Your fingers don't quite know where to go, and every tutorial seems to show a different grip. Here's the good news: there is no single "correct" way to hold a crochet hook. There are three main methods, and the right one is simply the one that keeps your hand relaxed and your stitches even.
The two classic grips: pencil vs. knife
These are the two most widely taught methods — try both and see which one your hand gravitates toward.
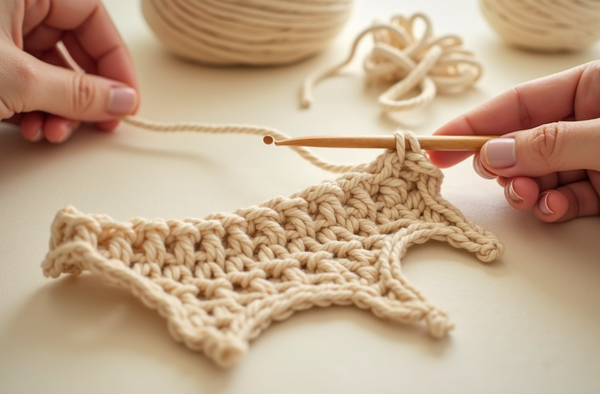
The pencil grip means holding the hook exactly like you hold a writing pencil: between your thumb and index finger, resting lightly against your middle finger. This grip tends to suit crafters who already hold a pen with a light touch. It gives you precise, nimble control of the hook tip, which is especially helpful when you're working a magic ring or pulling through tight amigurumi stitches.
The knife grip (also called the overhand grip) has you wrapping your palm around the hook handle the way you'd hold a butter knife — your thumb and fingers wrap over the top. Many beginners find this grip more intuitive at first because it mirrors how we naturally pick up a tool. It also distributes effort across more of your hand, which some crocheters say reduces strain during long sessions.
The supported pencil grip — a hybrid worth trying
If neither classic method feels completely comfortable, try the supported pencil grip: hold the hook like a pencil but slide your thumb and middle finger down to rest on the flat thumb rest (the flattened section near the middle of most hooks). This gives the control of a pencil grip with the stability of having two anchor points on the hook. Many crafters discover this position on their own after a few weeks of practice — now you can skip straight to it.
Which hand holds the hook?
Your dominant hand holds the hook; your non-dominant hand controls the yarn tension. If you are left-handed, simply mirror all instructions. Left-handed crochet is every bit as valid, and most stitches look identical in the finished piece. For a full walkthrough tailored to southpaws, check out the left-handed crochet beginner's guide.
"Your grip will evolve naturally the more you crochet. Give yourself permission to keep adjusting — finding your hold is part of learning the craft."— Ava, MrsCrochetWorld
Patterns to practice your new grip
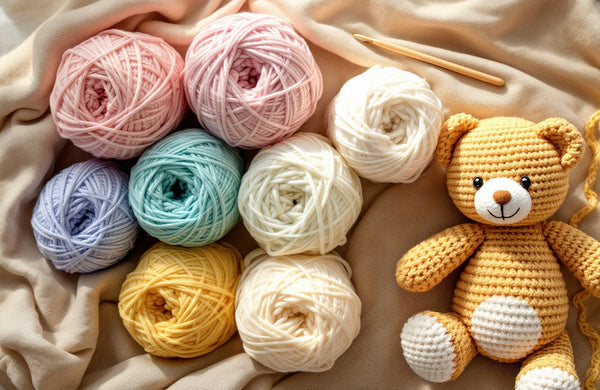
The best way to settle into a comfortable hold is to make something you love. These beginner-friendly patterns give you plenty of repetitive stitches — perfect for building muscle memory.

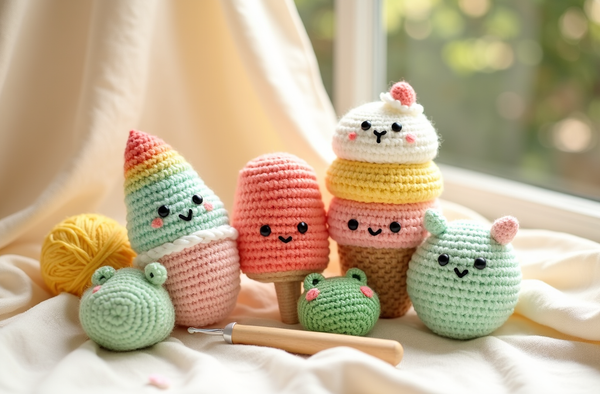
Easy No-Sew Amigurumi Book for Beginners
Best for building grip confidenceFifty simple plushies crocheted entirely in the round — no sewing pieces together. The repetitive single crochet rounds are ideal for locking in your hook grip while you build something adorable. Great first project after you've chosen your hold.

50 No-Sew Amigurumi Patterns Bundle
Variety to keep you engagedFifty different characters mean you never get bored while your hands practice that new grip. Because every project works in the round with consistent tension, you'll notice your hand naturally relaxing into its preferred position. Pair with the how to crochet in the round guide for smooth circles every time.

Granny Square Bag Crochet Pattern
For tension control practiceGranny squares are worked flat in short bursts, which means you naturally rest your hand between squares. This makes them perfect for noticing whether your grip is causing tension — literally. A useful next step once your crochet tension starts to even out.
Six things that affect your comfort
Your grip is only part of the picture. These factors matter just as much.
Hook shape and handle
An ergonomic handle with a soft rubber grip reduces hand fatigue dramatically compared to a basic aluminum hook. Try both before you decide pencil grip "doesn't work for you."
Hook size
A 5.0 mm (H-8) or 5.5 mm (I-9) hook is the sweet spot for most beginners — large enough that the hand movements feel natural, but not so large that tension goes out of control. See the full crochet hook sizes chart.
Yarn weight
Bulky yarn (#5 or #6) is forgiving and easy to see. You can correct your grip before a mistake disappears into the fabric. Once your grip stabilizes, move to worsted (#4) for finer projects.
Wrist position
Keep your wrist as neutral (straight) as possible. Bending it sharply toward your pinky for long periods can lead to soreness. If that happens, switch grip methods and see if it helps.
Session length
New crocheters often grip the hook far too tightly out of concentration. Set a five-minute timer to remind yourself to shake out your hands and consciously loosen your hold.
Ready to go deeper?
Our complete beginner guide to crochet covers everything from your first slip knot to finishing your first project — all in one place.
Quick tips for a more comfortable grip
- Start loose. Most beginners grip the hook way too hard. Pretend you're holding a baby bird — firm enough not to drop it, gentle enough not to hurt it.
- Rest your elbows. Working with your arms unsupported tires your shoulders and transfers tension down to your hands. Use a table or chair arm whenever you can.
- Try both grips on the same project. Spend ten minutes with pencil grip, then ten with knife grip, crocheting the same stitch. Your hand will tell you which one it prefers.
- Watch your non-dominant hand too. Uneven tension is often caused by the yarn hand, not the hook hand — keep that yarn finger relaxed but consistent.
- Switch if something hurts. Mild hand soreness after a long session is normal; sharp pain or numbness is not. Change grip, take a break, or see a doctor if pain persists.
- Build up slowly. Aim for 15–20 minutes of practice per day rather than marathon sessions. Your mistakes will also decrease as fatigue stays low.
Ready to put your grip to work?
Grab a free pattern and start building that muscle memory right now. No experience needed — just a hook, some yarn, and a little patience.
Get a free pattern Shop beginner patternsFrequently asked questions
What is the most common way to hold a crochet hook?
The pencil grip and knife grip are both widely used, with no clear winner — it genuinely depends on the individual. Many experienced crocheters use the pencil grip for detail work and switch to the knife grip for larger, faster projects.
Is there a wrong way to hold a crochet hook?
If your hand hurts, your tension is wildly uneven, or you struggle to keep the hook in your fingers, your current grip probably needs adjusting. Beyond those signs, any hold that keeps you comfortable and produces even stitches is correct.
Should I use a pencil grip or knife grip for amigurumi?
Either works. Some amigurumi makers prefer the pencil grip because the tight, dense stitches benefit from precise hook-tip control. Try both on a tension swatch and go with whichever gives you neater, more consistent single crochet stitches.
How do left-handed crocheters hold their hook?
Left-handed crocheters simply mirror the grip: the hook goes in the left hand and the yarn is managed with the right. All three grip methods work just as well in the left hand, and the finished crochet fabric looks identical to right-handed work.
Why does my hand cramp when I crochet?
Hand cramps usually mean you are gripping the hook too tightly, your wrist is bent at an awkward angle, or you are crocheting for too long without a break. Try consciously loosening your hold, supporting your arms on a surface, and resting every 20–30 minutes.
Do ergonomic crochet hooks really make a difference?
Yes, especially for longer sessions. Ergonomic hooks have a wider, softer handle that lets your fingers rest rather than grip, which reduces fatigue. If you are crocheting more than an hour at a time, an ergonomic hook is worth the investment.
How do I stop gripping my crochet hook too tightly?
Set a reminder to check your grip every few minutes. You can also practice making individual chain stitches very slowly, focusing on keeping your fingers relaxed between each stitch. It becomes automatic with practice — usually within a few sessions.
Can I switch between grip methods mid-project?
Absolutely. Many crocheters switch grips depending on the stitch, the hook size, or simply how their hand feels that day. Switching does not affect the finished fabric as long as your tension stays consistent, so feel free to experiment throughout a project.