Easy No-Sew Amigurumi for Beginners: 50 Cute Plushie Patterns in US Terms
Skip the needle and thread — discover how a no-sew approach makes crocheting your first amigurumi faster, less frustrating, and genuinely fun.


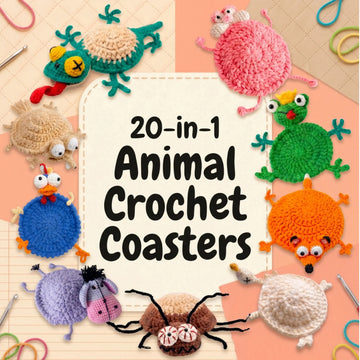
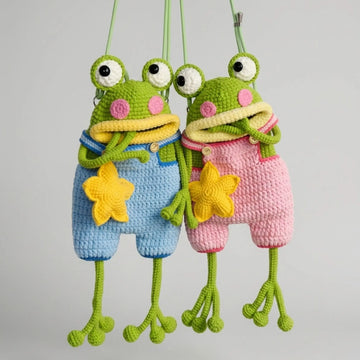
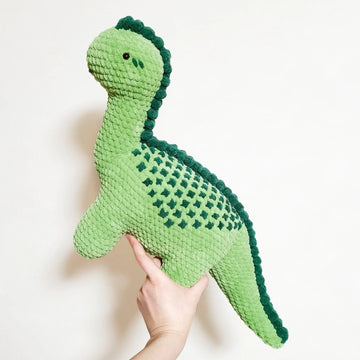
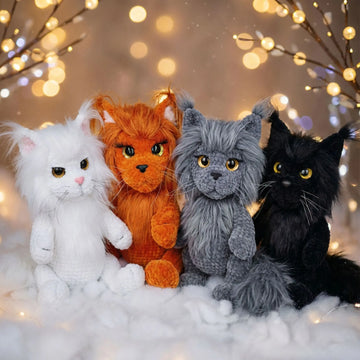
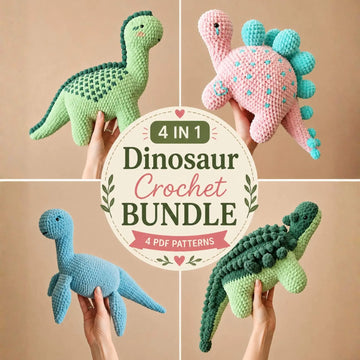
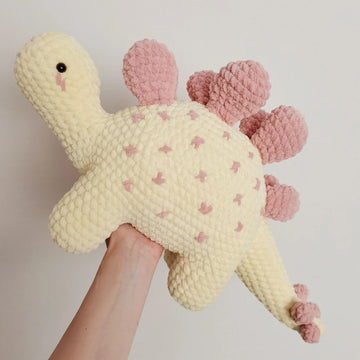
A peek at what you can make
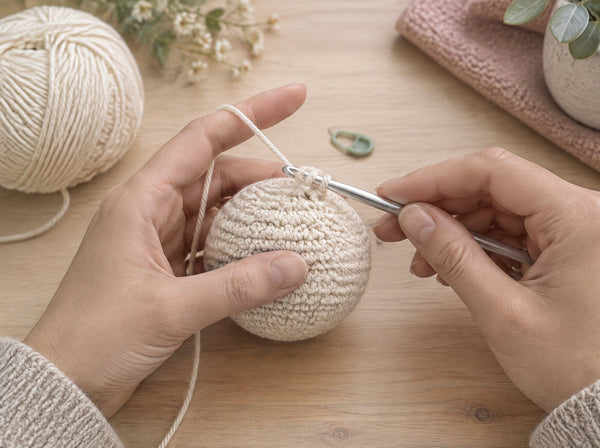
If the idea of sewing tiny arms onto an even tinier body has ever made you put down your hook in defeat, you are not alone. Assembly is the step that trips up most beginners — and it is exactly the step that no-sew amigurumi removes from the equation entirely. By crocheting each piece directly onto the body or working everything in one continuous round, you end up with a finished plushie and zero loose parts to stitch together.
What "no-sew" actually means in crochet
It is a technique, not a shortcut — and the results look just as polished.
Traditional amigurumi patterns ask you to crochet each body part separately, stuff them, and then sew them onto the main body using a yarn needle and mattress stitch or whipstitch. That works beautifully when you have the skill, but for a first-time maker the sewing stage can feel overwhelming and the joins can look uneven. No-sew patterns solve this by either crocheting limbs directly onto live stitches of the body or by using clever increases and shaping within a single piece so nothing needs to be attached at all. If you want to read more about traditional joining methods, the guide to how to sew amigurumi parts is a great companion read — but with no-sew you simply skip that chapter entirely.
Why beginners love the no-sew method
The biggest barrier for new crocheters is not the stitches themselves — it is the finishing. When you follow a standard amigurumi pattern you might crochet for an hour and then spend another thirty minutes squinting at tiny seams. No-sew patterns collapse that gap. You keep your hook in hand, you work continuously, and the piece comes together as you go. That sense of visible, constant progress is motivating in a way that post-assembly rarely is. It also means fewer things to lose — no leftover yarn tails to weave in, no separate ear piece rolling under the sofa.
The method pairs perfectly with understanding no-sew amigurumi techniques in depth, which walks through exactly how direct attachment and single-piece construction work stitch by stitch.
Choosing the right yarn and hook
For no-sew plushies, a smooth worsted-weight acrylic in a tight spin gives you the cleanest stitch definition and the easiest time spotting your stitch count. Cotton is lovely too, especially for pieces meant for young children, because it washes well and stays colorfast. Go one hook size down from what your yarn label suggests — a tighter fabric hides stuffing and keeps the amigurumi's shape firm. If you are still deciding between fiber types, the comparison in best yarn for amigurumi: cotton vs. acrylic lays out the trade-offs clearly. A US G-6 / 4 mm hook is a reliable starting point for most worsted-weight no-sew projects.
"The moment you finish your first no-sew plushie and realize there is nothing left to do — it is already done — that feeling is addictive."— Ava, MrsCrochetWorld
Three patterns to start your no-sew journey
All beginner-friendly, all written in clear US terms, and all designed so you can skip the needle entirely.
Easy No-Sew Amigurumi for Beginners
Book · PDF + PrintFifty patterns, one simple method. Every design in this book was built around the no-sew philosophy, so beginners can go from chain stitch to finished plushie without ever picking up a sewing needle. Written in US terms with step-by-step photo support. Browse all crochet books or grab this one directly to start today.
50 No-Sew Amigurumi Patterns Bundle
PDF Bundle · Instant DownloadIf you want the full pattern library in digital form — ready to print or read on a tablet — the 50-pattern PDF bundle delivers exactly that. Instant download means you can be crocheting within minutes. It is also a perfect gift for a crafty friend who is just exploring amigurumi for the first time.
Care Bears Amigurumi Crochet Pattern — 4 in 1
PDF Pattern · Character InspiredOnce you have the basics down, character plushies are the natural next step. This four-bear bundle is a favorite among makers who want a recognizable, giftable result. The construction keeps joins minimal, making the transition from no-sew beginner patterns very smooth. Explore the full amigurumi pattern collection for even more character ideas.
Six skills every no-sew beginner should build
These are the building blocks that make everything else click into place.
The magic ring
Almost every amigurumi round-piece starts here. It gives you a tight, closed center with no visible hole. Practice it ten times and it becomes muscle memory. See the full walkthrough in how to crochet a magic ring.
Counting stitches accurately
A missed increase or decrease throws off the whole shape. Use a stitch marker in the first stitch of every round and count before moving on. The guide to counting crochet stitches and rows has a simple system that works every time.
Increases and decreases
Shaping is everything in amigurumi. An invisible decrease (dec) in the front loops keeps your fabric smooth and gap-free. Read how to increase and decrease in amigurumi for the exact technique used in professional patterns.
Stuffing as you go
With no-sew construction the opening closes quickly, so add fiberfill early and often. Aim for firm but not rock-hard — the shape should hold but still have a little give. The guide to how to stuff amigurumi covers ideal fill levels for different piece sizes.
Safety eyes and embroidered features
Safety eyes go in before the opening closes. Choose the right size — 6 mm for mini pieces, 9–12 mm for standard heads. If the toy is for a child under three, embroider the eyes instead with satin stitch. The full reference is in how to add safety eyes to amigurumi.
Reading your first pattern
Pattern abbreviations can look like a foreign language at first. SC, inc, dec, MR, FLO — all of these have simple, consistent meanings. Once you learn the shorthand the patterns almost read themselves. Start with the complete beginner guide to crochet for a full glossary and plain-English explanations.
Ava's top tips for your first no-sew plushie
- Start with a round animal body. Spheres and ovals are the most forgiving shapes for a first project — they hide uneven tension and still look intentional.
- Use contrasting yarn for your stitch marker. A scrap of bright yarn looped into your first stitch of every round is easier to spot than a plastic marker in low light.
- Check your gauge against the pattern before committing. A few stitches too tight and your finished piece will be noticeably smaller than the photo. Adjust hook size, not yarn weight.
- Watch for holes around safety eyes. If a gap appears after you set the eye, try the next size down or tighten the surrounding stitches slightly with your hook tip. The article on why amigurumi has holes diagnoses the common causes.
- Finish the tail before you cut. Leave at least 6 inches of yarn when fastening off so you have enough to thread through the piece and bury the end without it pulling loose.
Ready to make your first no-sew plushie?
Grab a free starter pattern and see how quickly a ball of yarn turns into something you will want to keep forever — or gift to someone who will love it just as much.
Get a free pattern Shop beginner patternsFrequently asked questions
What does "no-sew" mean in amigurumi patterns?
No-sew amigurumi patterns are designed so that you attach limbs and other pieces directly while crocheting, or work the entire figure in one continuous piece. You never need a sewing needle or yarn needle to join parts together — your hook does all the work.
Is no-sew amigurumi easier than traditional amigurumi?
For most beginners, yes. The assembly step in traditional amigurumi — sewing tiny parts onto a stuffed body — is where a lot of makers get frustrated. No-sew construction removes that step entirely, so you finish crocheting and the piece is done. The stitches themselves are the same either way.
What yarn is best for no-sew amigurumi?
A smooth worsted-weight acrylic with a tight spin works well because it shows stitch definition clearly and holds its shape after stuffing. Cotton is a good choice if the toy is intended for young children since it washes easily. Avoid fuzzy or bulky yarns for your first project — they make it hard to see individual stitches and count rounds accurately.
What hook size should I use for no-sew plushies?
A US G-6 (4 mm) hook is a reliable starting point for most worsted-weight no-sew amigurumi. Many experienced makers go one size smaller than the yarn label recommends to create a tighter fabric that hides the stuffing and holds the shape firmly.
How do I avoid holes in my no-sew amigurumi?
Tight, consistent tension is the main factor. Use an invisible decrease (working through the front loops only) instead of a standard decrease, size your hook down, and set safety eyes carefully — gaps often appear around the eye socket. Check the round count before closing and adjust if any stitch looks unusually loose.
Are no-sew patterns safe for toys made for babies and toddlers?
The no-sew construction itself is very secure — directly attached pieces do not come loose the way sewn-on parts sometimes can. However, safety eyes are a choking hazard for children under three, so embroider the eyes instead with satin stitch using a blunt needle after the piece is finished. Always check that the fiberfill is non-toxic and hypoallergenic.
Can a complete beginner use the Easy No-Sew Amigurumi book?
Yes — the book was written specifically for beginners who may never have crocheted an amigurumi before. Each pattern starts from the magic ring and is written in clear US crochet terms with step-by-step photo guidance. The fifty designs range from very simple one-piece figures up to slightly more detailed characters, so you can progress at your own pace.
What is the difference between the book and the PDF bundle?
The content — fifty no-sew amigurumi patterns in US terms — is the same in both. The book is available as a physical printed edition as well as a PDF, which is ideal if you prefer reading on paper or flipping physical pages. The PDF bundle is a digital-only instant download, perfect for printing individual patterns at home or reading on a tablet while you crochet.