How to Read a Crochet Pattern (US Terms): The Complete Beginner's Guide
Those rows of "sc, dc, ch, rep from *" stop looking like code the moment someone explains them. Here's every part of a crochet pattern, decoded once and for good.

The first time you open a crochet pattern, it can read like a secret language: "Rnd 2: 2 sc in each st around (12)". But that shorthand exists for one friendly reason — to fit a whole project onto a page or two without a wall of words. Once you learn the handful of abbreviations and symbols every designer uses, you can pick up almost any pattern in the world and know exactly what to do. This guide walks you through every section of a pattern, in plain English, in the order you'll meet it.
The anatomy of a crochet pattern
Almost every well-written pattern, whether it's a free one-page PDF or a full book chapter, is built from the same six parts. Read them top to bottom before you make a single stitch — five minutes here saves an hour of frogging later.
1. Materials & tools. The yarn weight and amount, the hook size, and extras like a stitch marker, yarn needle, stuffing or safety eyes. 2. Gauge. A small swatch measurement (e.g. "14 sc x 16 rows = 4 in") that tells you whether your tension matches the designer's — crucial for wearables, optional for amigurumi. 3. Abbreviations & special stitches. A key listing every shorthand used, plus instructions for any unusual stitch. 4. The instructions. The row-by-row or round-by-round body of the pattern. 5. Assembly & finishing. How to seam pieces, weave in ends and add details. 6. Notes. Designer tips, sizing options and the all-important "worked in continuous rounds" or "join each round" instruction.
US vs UK terms — read this before anything else
This is the single most common source of confusion for beginners, and it has nothing to do with skill. The same word means different stitches depending on which side of the Atlantic the designer is from. A US "single crochet" (sc) is a UK "double crochet" (dc) — the exact same stitch, two different names. Every MrsCrochetWorld pattern is written in US terms, and any good pattern states its terminology near the top. If a pattern ever feels strangely tall or short, check the terms first. Our full crochet abbreviations glossary has a side-by-side US/UK conversion you can keep open while you work.
"You don't need to memorise a pattern — you need to trust it. Read one line, make that line, check your count, move on. The pattern is on your side."— Ava, MrsCrochetWorld
Three patterns that teach you to read
The fastest way to learn pattern reading is to follow a clearly written one. These three are written exactly the way this guide describes — counts in brackets, US terms, step photos.

Worked in rounds — read the count
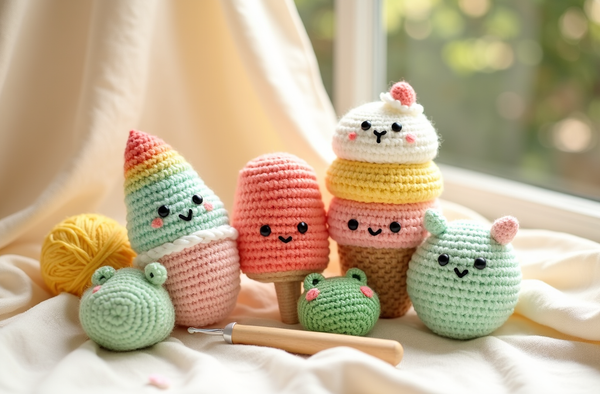
Beginner · written in roundsAmigurumi patterns like our easy stegosaurus are perfect practice: every round ends with a stitch count in brackets, so you always know if you're on track. Master counting your stitches here.

Worked in rows — follow the repeats
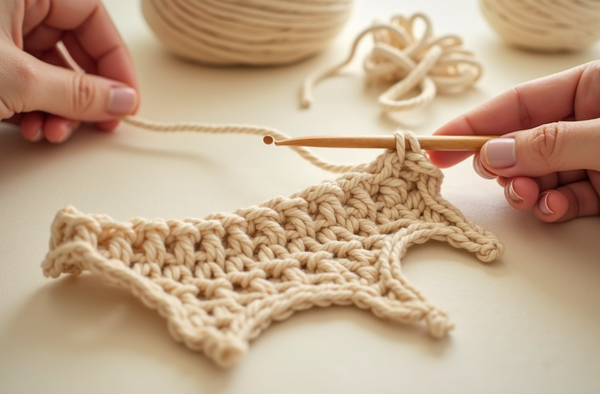
Rows & repeatsA flat project like the granny square bag teaches you the asterisk-and-repeat rhythm ("*dc, ch 1; rep from * around") — the building block of nearly every pattern.

Multi-part patterns — read the assembly
Assembly & finishingOnce you're comfortable, a bundle like our 4-in-1 dinosaurs adds the finishing section: which pieces to make, in what order, and how they go together.
Decode the shorthand
These five symbols appear in almost every pattern. Learn them once and the "code" disappears.
Parentheses
A group worked into one stitch — "(2 dc, ch 2, 2 dc)" all go in the same space. At a line's end, (12) means your final stitch count.
Asterisk
Marks where a repeat starts. "*sc, 2 sc in next st; rep from *" means repeat everything after the star.
Brackets
A sequence to repeat a set number of times — "[dc in next 3 sts, 2 dc] 6 times".
"x" or "times"
How many times to repeat the preceding group. "6x" and "6 times" mean the same thing.
Rnd vs Row
Rnd = round (worked in a circle/spiral). Row = a flat row you turn at the end. The pattern tells you which.
Every abbreviation
ch, sc, dc, hdc, tr, sl st, st, sk, inc, dec, BLO, FLO and more — all defined in our abbreviations glossary.
Reading a written line, step by step
Let's translate a real round together: "Rnd 3: *sc in next st, 2 sc in next st; rep from * around (18)". Reading left to right: this is round 3, worked in a circle. The instruction after the asterisk is the repeat — one single crochet in the next stitch, then two single crochets in the stitch after that. You repeat that two-stitch pattern all the way around the round. When you finish, you should have 18 stitches — that's the number in brackets. If you count and land on 17 or 19, you've missed or added an increase somewhere, so unravel back to your last correct count and redo it. This single habit — read the line, work the line, count the line — is what separates a relaxing project from a frustrating one.
Gauge & tension: when it matters
For a hat, sweater or bag that needs to be a specific size, make the gauge swatch the designer gives and measure it. If you have too many stitches across 4 inches, your tension is tight — go up a hook size; too few, go down. For amigurumi and toys, exact gauge matters far less; you simply want stitches tight enough that the stuffing doesn't show. Either way, consistent tension makes patterns far easier to read, because your work will actually match the photos.
Symbol charts & amigurumi patterns
Some patterns — especially lace, granny squares and Japanese designs — use stitch symbol charts instead of (or alongside) words: a little visual map where each symbol is a stitch. They look intimidating but are wonderfully logical once you know the key; learn to read them in our symbol charts guide. Amigurumi has its own conventions, too — continuous spirals, colour-change notation and assembly diagrams — covered in how to read amigurumi patterns.
Pattern-reading tips that prevent 90% of mistakes
- Read the whole pattern first — including the notes — before you start, so nothing surprises you mid-round.
- Check the terminology (US or UK) at the very top. It changes what every stitch name means.
- Count at the end of every row or round. The bracketed number is your safety net.
- Use a stitch marker in the first stitch of each round when working in a spiral — it's the #1 fix for "I lost my place".
- Tick off each line with a pencil or a row counter app so you always know where you are.
- Highlight your size if the pattern offers several — then follow only those numbers.
Ready to read your first pattern? 🧶
Grab a clearly written, beginner-friendly pattern — US terms, stitch counts on every line, step-by-step photos. Free downloads to practise on, instantly.
Get a free pattern Shop beginner patternsFrequently asked questions
How do I read a crochet pattern as a beginner?
Start by reading the whole pattern through. Check whether it uses US or UK terms, learn the abbreviations key, then work one line at a time — making each row or round and checking the stitch count in brackets before moving on.
What does the number in brackets at the end of a line mean?
It's the total stitch count you should have after completing that row or round — for example "(18)" means 18 stitches. It's your built-in check that you haven't added or missed any stitches.
What do the asterisk (*) and brackets mean in a crochet pattern?
An asterisk marks where a repeat begins — "rep from *" means repeat everything after the star. Square brackets group a sequence to repeat a set number of times, like "[dc, 2 dc] 6 times". Parentheses usually mean stitches worked into the same stitch.
What's the difference between US and UK crochet terms?
The same stitch has different names. A US single crochet equals a UK double crochet; a US double crochet equals a UK treble. Always check which terminology a pattern uses before you begin — every MrsCrochetWorld pattern uses US terms.
What does "Rnd" vs "Row" mean?
"Rnd" is a round worked in a circle or spiral (common in amigurumi and bags); "Row" is a flat row you turn your work at the end of. The pattern states which one you're working.
Do I have to make a gauge swatch?
For fitted items like hats, sweaters and bags, yes — gauge keeps the size accurate. For amigurumi and toys it's much less important; you just want stitches tight enough to hide the stuffing.
What are crochet symbol charts?
Charts are visual maps where each symbol represents a stitch, often used for lace, granny squares and Japanese patterns. They're very logical once you learn the key — see our symbol charts guide.
How do I keep my place in a long pattern?
Tick off each completed line with a pencil or a row-counter app, and use a stitch marker in the first stitch of each round when working in a spiral so you never lose the start.
What does "rep from * around" mean?
It means repeat the sequence that follows the asterisk continuously until you reach the end of the round. You keep repeating that little pattern of stitches all the way around.
Related guide: US vs UK crochet terms: complete conversion chart.