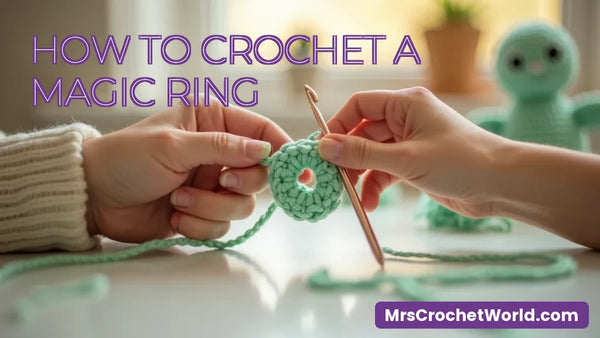
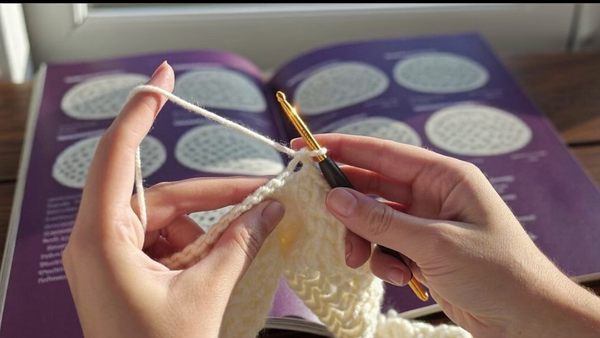
The magic ring (also called the magic circle or adjustable ring) is the single most important skill in amigurumi. It creates a tight, closable starting loop so your crochet plushies never end up with a gaping hole in the middle. In this MrsCrochetWorld guide you'll learn exactly how to make a magic ring step by step, fix the most common mistakes, and know when to use a chain-2 start instead.
What Is a Magic Ring in Crochet?
A magic ring is an adjustable starting loop that lets you crochet your first round of stitches into a soft, open circle and then pull it completely closed. Because the center cinches shut, it's the go-to start for anything worked in the round: amigurumi heads and bodies, hats, granny-square centers, and coasters. If you've ever finished a cute plushie only to see a hole peeking through the middle, the magic ring is the fix.
At MrsCrochetWorld we teach the magic ring in almost every pattern because a clean center is what separates a homemade-looking plush from a polished, gift-worthy one. It looks intimidating in videos, but it's really just three moves: loop, stitch, pull.

What You Need Before You Start
You don't need anything special beyond your normal amigurumi setup. Here's the short list:
- Yarn: A smooth, light-colored worsted or DK yarn is easiest to learn on. Dark or fuzzy yarn hides the loops.
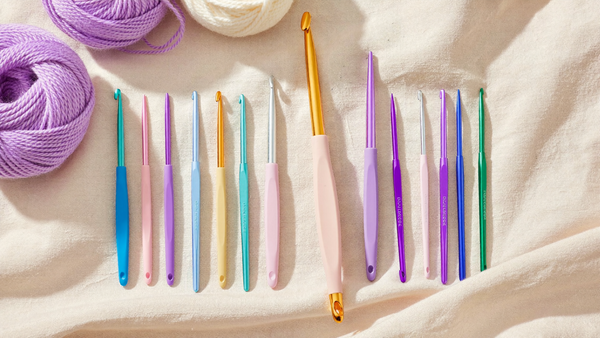
- Hook: The size on your yarn label, or one size smaller for amigurumi so stitches stay tight and stuffing won't show.
- Your fingers: The ring is formed around two fingers, so no extra tools are required.
New to choosing yarn and hooks? Our best yarn for amigurumi guide and crochet hook sizes guide pair perfectly with this tutorial.
How to Crochet a Magic Ring (Step by Step)
Follow these steps slowly the first time. Most crocheters get it on the second or third try, so don't worry if your first loop looks messy.
- Make the loop. Drape the yarn over your hand and wrap it around your first two fingers, crossing the working yarn over the tail so the loops overlap into an X.
- Insert your hook. Slide the hook under the front strand and grab the working yarn (the strand attached to your yarn ball).
- Pull up a loop. Draw that working yarn back through the ring so you have one loop on your hook. This does not count as a stitch yet.
- Anchor with a chain. Yarn over and pull through to make one chain. This locks the ring so it won't unravel while you work.
- Work your first round. Single crochet into the ring by inserting the hook into the center each time, working over both the loop and the tail. A typical amigurumi start is 6 single crochets.
- Pull it closed. Gently tug the tail end. The center draws shut like a drawstring bag, leaving a tidy, hole-free circle.

5 Common Magic Ring Mistakes (and How to Fix Them)
Almost every magic ring problem comes down to one of these five issues. Here's how to spot and fix each one.
| Problem | Why it happens | The fix |
|---|---|---|
| Center won't close | You pulled the wrong strand | Only the short tail closes the ring, not the working yarn. Tug each strand gently to find the one that tightens the loop. |
| Ring loosens later | Tail not secured | Weave the tail through the back loops of 3–4 stitches after closing, then trim. |
| First round twists | Stitches worked into the loop unevenly | Keep all 6 stitches snug and side by side; use a stitch marker in the first stitch. |
| Hole still shows | Too few stitches or loose tension | Use a hook one size down and make sure the tail is fully cinched before round 2. |
| Ring falls apart | Skipped the anchoring chain | Always make one chain to lock the loop before your first single crochet. |
Magic Ring vs. the Chain-2 Method
If the magic ring genuinely isn't clicking for you yet, there's a beginner-friendly backup: the chain-2 start. It's more forgiving but leaves a slightly larger center hole.
| Magic Ring | Chain-2 Start | |
|---|---|---|
| Center hole | Fully closable, no gap | Small visible hole remains |
| Difficulty | Moderate — needs practice | Very easy |
| Best for | Amigurumi, hats, anything stuffed | Quick practice, blankets, non-stuffed pieces |
| Our recommendation | Learn this — it's worth it | Use as a temporary training-wheel start |
Our honest take: use chain-2 for your very first practice plush if you must, but keep practicing the magic ring. Every amigurumi maker eventually switches to it, because a closed center is what makes your plushies look store-bought.
Ready to Put Your Magic Ring to Work?
Grab our FREE No-Sew Axolotl pattern to practice on something adorable, then level up with the full bundle.
Get the FREE Axolotl Pattern Shop the 50-in-1 No-Sew BundleMagic Ring FAQ
Do I always have to use a magic ring for amigurumi?
No, but it's strongly recommended. Any project worked in the round can start with a magic ring, and for stuffed toys it prevents the center hole that lets stuffing show through. The chain-2 method works in a pinch but leaves a small gap.
Why does my magic ring keep coming undone?
The most common cause is skipping the anchoring chain or not securing the tail. Always make one chain to lock the loop before your first stitch, and weave the tail through a few back loops after closing the ring.
How many stitches go into a magic ring?
It depends on the pattern, but 6 single crochets is the standard amigurumi start. Some patterns use 4, 8, or more depending on the shape you're making.
Which strand closes the magic ring?
Only the short tail end closes the ring. If pulling doesn't tighten the center, you're pulling the working yarn — switch to the other strand and it will cinch shut.
What yarn is easiest for learning the magic ring?
A smooth, light-colored worsted or DK acrylic is ideal. Avoid dark, fuzzy, or slippery yarns while learning because they hide the loops and slide loose more easily.
Is a magic ring the same as a magic circle?
Yes. Magic ring, magic circle, and adjustable ring all describe the same closable starting loop. Patterns use the terms interchangeably.
Final Thoughts
The magic ring feels tricky for about ten minutes and then becomes second nature for life. Once it clicks, every plushie you make will have a clean, professional center — no more gaps, no more stuffing peeking through. Practice it on a free pattern, secure that tail, and you'll never dread starting an amigurumi again. Happy hooking from all of us at MrsCrochetWorld!