A crocheted giraffe is pure charm: a long, curious neck, a patchwork of warm brown spots and a sweet little face that makes everyone smile. If you're looking for a giraffe crochet pattern, this guide gives you the know-how that helps any giraffe turn out well: colors and spots, firm stuffing for that long neck, safety eyes versus embroidered eyes, no-sew versus sewn construction, and the right yarn and hook.
Why a Giraffe Is a Great Next Amigurumi Project
If you've crocheted a few flat projects and maybe a simple ball or two, a giraffe is a lovely step up. It uses the same core techniques as almost every amigurumi (continuous spiral rounds of single crochet, simple increases and decreases, stuffing as you go), but its shape asks a little more of you. The long neck has to stand up on its own, the legs have to carry the weight evenly, and the spots should look natural rather than random.
One honest note before we start: you won't find a quick round-by-round giraffe on this page. Every pattern we sell is written by a human designer and test-crocheted before release, and an untested pattern usually costs you yarn and patience. What you will find here is the practical background that helps you choose a good pattern and make your giraffe shine.


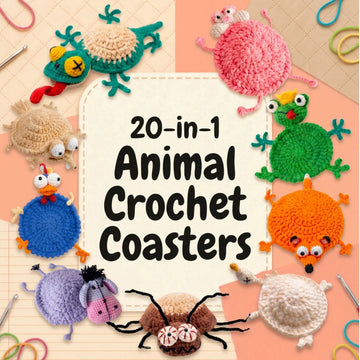
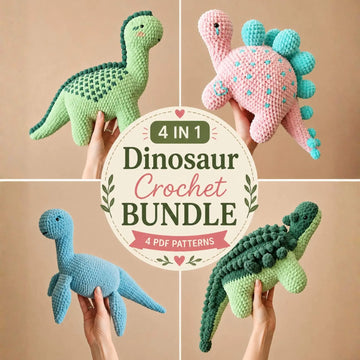
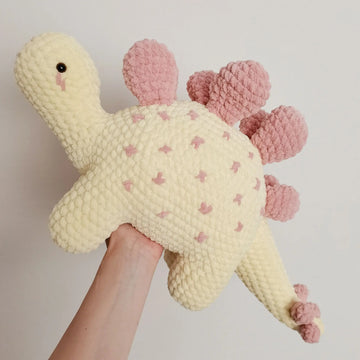
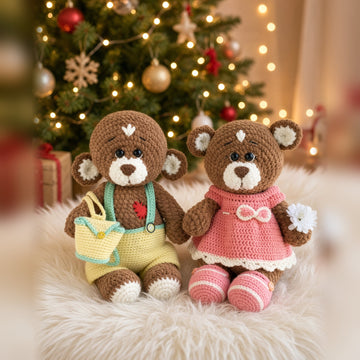
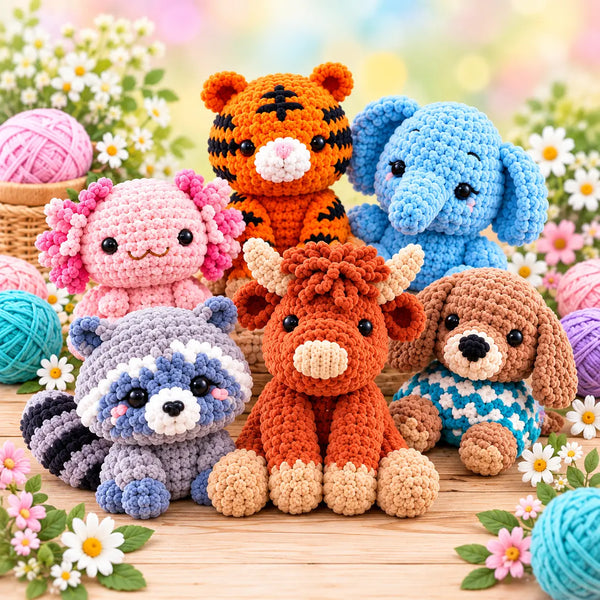
From left: our keychain book with Long Neck Charms, 50 no-sew amigurumi patterns in one PDF, and the 20-in-1 Cuddly Animals Crochet Pattern Bundle.
What to Look for in a Giraffe Crochet Pattern
Giraffe patterns range from tiny keychain charms to big, huggable plushies. Whichever size you choose, a well-written pattern makes the difference between a giraffe that stands proudly and one that slumps. Look for:
- A clear materials list. Yarn weight, fiber, hook size, stuffing and eye size should all be named, so you can get close to the designer's result.
- Stated crochet terms. US and UK patterns use the same names for different stitches (a US single crochet is a UK double crochet). Our free crochet abbreviations chart helps you translate.
- Stitch counts at the end of every round. In spiral amigurumi, counts are how you catch a missed increase before it turns into a crooked neck.
- Photos and assembly notes. Especially where the legs meet the body and the neck meets the head, plus when and how firmly to stuff.
- An eye option for little ones. If the giraffe is meant for a baby, the pattern should mention embroidered eyes as an alternative to safety eyes.
Colors and Spots: Getting the Giraffe Look
The classic palette is simple: a warm golden yellow, mustard or tan for the body, a chestnut or chocolate brown for the spots, a darker brown for the hooves, mane and the tips of the little horns (ossicones), and sometimes cream or light beige for the muzzle. Choose yarns from the same fiber and weight family so all the pieces wash and wear the same way.
For the spots, you have three main options:
- Color changes worked into the fabric. You switch yarn mid-round, so the spots are part of the stitches. No sewing needed, but you have to carry the unused color neatly on the inside or cut it.
- Appliqué spots. Small flat circles or ovals crocheted separately and stitched on. Easy to place exactly where you want them.
- Embroidered spots. Outline or fill the spots with yarn and a tapestry needle after the body is done. Perfect for small charms, where crocheted patches would be too bulky.
Color change tip: Change color on the last yarn over of the stitch before the new color starts. That keeps the edge of each spot crisp instead of leaving a stray stitch in the old color. And vary your spot sizes: real giraffes have coat patterns as individual as fingerprints, so a few irregular shapes look more natural than perfect circles.
Dreaming of a nursery version? Mint, blush pink, lavender or soft gray with cream spots look sweet and calm, and the long neck still says "giraffe" at first glance.
The Long Neck: Firm Stuffing Is Everything
The neck is what makes a giraffe a giraffe, and it's also where most giraffes go wrong. An under-stuffed neck folds over, and a neck stuffed with big clumps looks lumpy. A few habits make all the difference:
- Stuff as you go. Don't wait until the neck is finished. Add stuffing every few rounds while the opening is still wide enough to reach.
- Use small tufts. Pull fiberfill into small, fluffy pieces and push each one down with the back of your hook, a chopstick or stuffing forceps.
- Go firmer than you think. The neck and legs should feel firm and springy. The body can be a little softer for cuddling.
- Crochet tightly. Dense fabric keeps the stuffing from showing through. If you can see fiberfill between your stitches, go down half a hook size.
- Reinforce the join. If your pattern has a separate neck or head, attach it all the way around, not just in a few spots, so it doesn't wobble.
For display giraffes that won't end up in little hands, some makers slide a pipe cleaner or a piece of soft plastic tubing into the neck for extra support. Never do that in a toy for a baby or toddler. Our guide to stuffing amigurumi with no lumps or gaps walks you through the whole process.
Safety Eyes or Embroidered Eyes?
Safety eyes give amigurumi that shiny, finished look. They are plastic eyes on a post with a locking washer that you press on from the inside, so you have to place them before you close the head. Check the placement from the front before you push the washers on, because they are very hard to remove once they lock.
For babies and toddlers, most makers skip safety eyes completely. Even locking eyes can work loose with chewing and pulling, and for children under three a small part like that is a choking hazard. Embroider the eyes with black yarn or embroidery floss instead: a few satin stitches over two or three stitches, plus a tiny white highlight if you like. Leave off buttons, beads and glued-on parts for the same reason, choose a tightly spun yarn that doesn't shed much, and always supervise little ones with handmade toys.
New to safety eyes? Our step-by-step guide on how to add safety eyes to amigurumi covers sizing, placement and the locking washer.
No-Sew or Sewn: Which Construction Suits You?
Giraffe patterns come in two broad construction styles, and both can turn out beautifully.
- No-sew construction. Legs, neck and ears are joined while you crochet, usually by working into existing stitches or joining pieces in a single round. You end up with fewer seams and fewer weak points, and the toy tends to come out symmetrical. The trade-off: the joining rounds take some concentration the first time.
- Sewn construction. Each part is made separately and stitched on at the end. You get more control over posing, like a tilted head or an angled neck, but your seams decide how neat the result looks. Pin every piece first, check it from all sides, and sew with the yarn tail in small, even stitches.
- Low-sew construction. A middle ground where only one or two small parts, often the ears or tail, are attached by hand.
If sewing on limbs is the step that leaves your projects unfinished in a basket, start with no-sew patterns. You'll learn the same shaping skills and finish more of what you start.
Prefer to skip the sewing? The 50-in-1 No-Sew Amigurumi Bundle collects 50 no-sew amigurumi patterns in one PDF.
Yarn and Hook: What Works for a Giraffe
You don't need special supplies for a giraffe. Here's what tends to work well:
- Cotton or cotton blend: Crisp stitch definition, holds its shape and stands up to lots of play. A great choice for a giraffe that needs to stand.
- Acrylic: Soft, affordable and available in every giraffe shade you could want. Pick a smooth yarn that doesn't split easily.
- Chenille or velvet yarn: Wonderfully plush, but the stitches are hard to see. Save it for your second or third giraffe.
- Yarn weight: DK or worsted weight makes a nice toy-sized giraffe. Sport or fingering weight is ideal for a mini giraffe or a keychain charm.
- Hook: Amigurumi uses a smaller hook than the yarn label suggests, so the fabric comes out dense. As a rough guide, many makers pair DK yarn with a 2.5–3.0 mm hook and worsted weight with a 3.5–4.0 mm hook. Your own tension decides the rest.
- Extras: Polyester fiberfill, a stitch marker for spiral rounds, safety eyes or embroidery floss, scissors and a tapestry needle for weaving in ends.
Sizing tip: To make a bigger giraffe, go up in yarn weight and hook size together, not just the hook. A large hook with thin yarn gives you a loose, see-through fabric.
Skills You'll Practice With a Giraffe
A giraffe is a real skill builder. Along the way you'll practice:
- The magic ring (or a chain-2 start if magic rings frustrate you)
- Single crochet in continuous spiral rounds
- Increases and decreases for shaping
- Invisible decreases for a smooth finish
- Clean color changes for spots and hooves
- Joining or attaching the legs, neck and ears
- Firm, even stuffing for the legs and a long neck
If any of those feel new, our free complete beginner guide to crochet, the free crochet stitches library and our free video tutorials walk you through the basics at your own pace.
Mini Giraffes: Long-Neck Charms and Keychains
Not every giraffe has to be a plushie. Worked in fine yarn with a small hook, a giraffe shrinks into a charm you can hang from your keys or your bag. Small pieces are quick to finish, use up yarn scraps and make lovely little gifts.
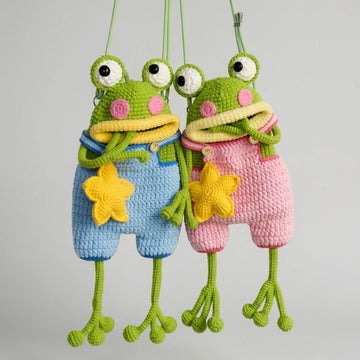
If that sounds like your kind of make, take a look at our book Crochet Big Mouth Monsters & Long Neck Charms: Amigurumi Keychain Book. Its Long Neck Charms are slender dangling characters (think giraffe, bunny, ostrich and frog) made to hang as keychains, bag charms and car mirror charms. The book also contains Big Mouth Monsters. It's a paperback, and you'll find all the details on our product page.
Charm tip: Attach the keyring through several stitches rather than just one, and keep tiny charms away from babies, since anything small enough to dangle from a key is small enough to swallow.
Creative Ways to Style Your Giraffe
Once you've made your first giraffe, the fun really starts:
- Color swap: Pastel pink, mint, lavender or any "unicorn giraffe" colorway you can dream up.
- Mini giraffe: Fine yarn and a small hook turn your giraffe into a keychain-sized friend.
- Nursery set: Pair your giraffe with other cuddly crochet animals, like the ones in our 20-in-1 Cuddly Animals Crochet Pattern Bundle, for a coordinated nursery shelf.
- Accessory upgrade: Add a tiny crocheted scarf, flower crown or bow tie.
- Giraffe family: Make a row of giraffes in graduated sizes by changing the yarn weight, for a charming bookshelf moment.
Frequently Asked Questions
Where can I find a giraffe crochet pattern from MrsCrochetWorld?
Our book Crochet Big Mouth Monsters & Long Neck Charms: Amigurumi Keychain Book includes Long Neck Charms: slender dangling characters (think giraffe, bunny, ostrich and frog) made to hang as keychains, bag charms and car mirror charms. If you'd like to crochet more no-sew animals, browse our no-sew amigurumi patterns.
What yarn is best for a crochet giraffe?
A smooth cotton or cotton blend in DK or worsted weight is a reliable choice because it shows your stitches clearly and holds its shape. Soft acrylic works well for a cuddlier giraffe. For mini giraffes and charms, use a sport or fingering weight yarn.
How do I keep my giraffe's long neck from flopping?
Stuff the neck firmly in small tufts as you go, crochet tightly so the fabric is dense, and if the neck is a separate piece, attach it all the way around. For display-only giraffes, some makers add a pipe cleaner for support, but never in a toy for a child.
Are safety eyes safe for a baby's giraffe?
For babies and toddlers under three, embroider the eyes with black yarn or embroidery floss instead. Safety eyes can come loose with chewing and pulling, and small parts are a choking hazard. Always supervise little ones with handmade toys.
Is no-sew or sewn amigurumi easier for beginners?
Many beginners find no-sew easier because there's no pinning and sewing at the end, and the toy tends to come out symmetrical. The joining rounds need a bit of focus the first time. Sewn patterns give you more control over posing, so both are worth trying.
How do I crochet giraffe spots?
You can work them in with color changes, crochet small flat spots and stitch them on, or embroider them after the body is finished. Change color on the last yarn over of the previous stitch for clean edges, and vary the spot sizes for a natural look.
Where can I share my finished giraffe?
We love seeing your makes! Tag us on Instagram @mrscrochetworld or use the hashtag #MrsCrochetWorld so we can cheer you on.
Ready to Crochet Your Giraffe?
Pick your size and your style: a dangling charm from the Long Neck Charms keychain book, a cuddly friend from the 20-in-1 Cuddly Animals Crochet Pattern Bundle, or 50 no-sew amigurumi patterns in the 50-in-1 No-Sew Amigurumi Bundle. Want more animal ideas? Browse all our amigurumi crochet patterns.
New to our shop? Sign up for our newsletter and get 15% off your first order.
Happy hooking, and welcome to the giraffe club! 🦒🧶