
How to Stuff Amigurumi: The Complete Guide to Smooth, Shaped Plushies
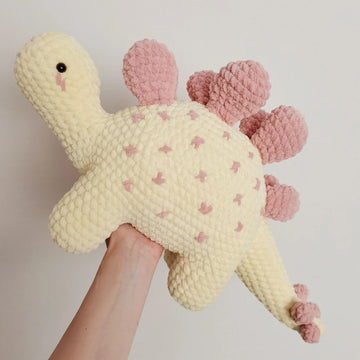
Knowing how to stuff amigurumi is the single biggest difference between a lumpy, sad-looking plushie and a smooth, professional-quality character that holds its shape for years. MrsCrochetWorld has hand-stuffed thousands of amigurumi — from tiny keychains to oversized display pieces — and the technique behind a flawless finish is simpler than most beginners think. This guide breaks it down: which fiberfill to use, how much pressure to apply, where most makers go wrong, and how to fix the dreaded "lumpy belly" problem.
Table of Contents
- Why Does Stuffing Make or Break Your Amigurumi?
- What Is the Best Stuffing for Amigurumi?
- How Much Stuffing Should I Use?
- How Do You Stuff Amigurumi Step by Step?
- Which Tools Make Stuffing Easier?
- How Do I Shape Amigurumi While Stuffing?
- How Do You Weight Amigurumi So They Sit Up?
- Which Stuffing Mistakes Should You Avoid?
- Can You Fix a Badly Stuffed Amigurumi?
- Frequently Asked Questions
Why Does Stuffing Make or Break Your Amigurumi?

You can crochet the tightest, most even stitches in the world, but if your stuffing technique is off, the finished plushie will look amateur. MrsCrochetWorld is a US-based crochet pattern studio specializing in beginner-friendly amigurumi designs for makers who want gift-worthy results — and after publishing 200+ patterns we can confirm: stuffing accounts for roughly 40% of the final visual quality of your project.
Here's why: amigurumi fabric is dense and inelastic. Unlike sewn plushies, every shape decision is locked in by your crochet stitches. The stuffing is what gives those stitches three-dimensional form. Too little, and gravity pulls everything into a sad pancake. Too much, and the polyester fibers visibly poke through every stitch hole, turning your soft toy into a porcupine.
The good news: there's no expensive tooling or secret yarn required. A bag of high-loft polyester fiberfill, a chopstick, and the technique below are everything you need.
What Is the Best Stuffing for Amigurumi?
Not all fiberfill is created equal. The cheap craft-store bags often contain coarse, clumpy fibers that bunch up and leave bumps even after careful stuffing. For professional results, you want high-loft 100% polyester fiberfill — silky, springy, and resistant to matting over time.
| Stuffing Type | Best For | Pros | Cons |
|---|---|---|---|
| 100% Polyester Fiberfill (high-loft) | Most amigurumi, all sizes | Soft, springy, washable, hypoallergenic | Slightly more expensive |
| Polyester Stuffing Beads / Pellets | Weighted bottoms, posable arms | Adds weight, helps figure sit upright | Needs an inner pouch; not for kids under 3 |
| Wool Stuffing | Heirloom or eco-conscious projects | Natural, biodegradable, holds shape well | Expensive, may attract moths, not washable |
| Bamboo Fiber Fill | Sensitive skin / baby gifts | Hypoallergenic, soft, eco-friendly | Less springy than polyester |
| Cotton Balls / Old Fabric Scraps | Emergency only — not recommended | Free, on-hand | Lumpy, hard to shape, matts quickly |
For 95% of amigurumi projects, high-loft polyester fiberfill (sometimes labeled "premium" or "deluxe" by brands like Poly-Fil, Fairfield, or Mountain Mist) is the right choice. One large bag costs around $10-15 and stuffs roughly 8-12 medium amigurumi.
How Much Stuffing Should I Use?
The most-asked question from new crocheters — and the answer depends on the part. Different amigurumi components need different stuffing densities to look right and stay structurally sound.
| Body Part | Fill Level | Why |
|---|---|---|
| Head | 95-100% firm | Holds facial features in place, supports safety eyes |
| Body / Torso | 85-90% firm | Allows slight squishiness, prevents over-stretched stitches |
| Arms / Legs (small) | 70-80% medium | Lets limbs flex slightly for natural posing |
| Arms / Legs (large display) | 90% firm | Larger limbs need more support to avoid sagging |
| Ears, Tails, Small Appendages | 50-70% light or none | Many small parts look better unstuffed and pressed flat |
| Snout, Nose, Cheeks | 80% medium-firm | Adds definition without distorting head shape |
A useful rule of thumb: if you can clearly see individual stitches stretched open and the white fiberfill poking through, you've overstuffed. Pull some out. If the piece feels squishy and won't hold its shape when you squeeze gently, add more.
How Do You Stuff Amigurumi Step by Step?

The right technique takes about two minutes per body part once you've practiced. Here's the exact method MrsCrochetWorld uses for every sample plushie:
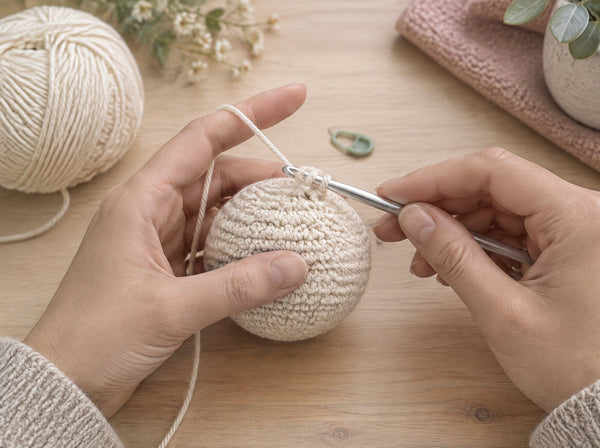
- Stuff as you go, not at the end. For pieces with narrow tubes (legs, arms, tails), add small pinches of fluffed fiberfill every few rounds. Trying to push stuffing down a long, narrow tube at the end always creates a gap at the bottom.
- Use small pinches, not handfuls. Take a piece of fiberfill about the size of a grape. Larger amounts compress into one clump.
- Fluff between fingers for 2-3 seconds before inserting. This is non-negotiable for a smooth finish.
- Push to the furthest point first. Always pack the deepest area (tip of an arm, top of a head) before adding more. This prevents hollow spots.
- Use a chopstick or back of a crochet hook to gently distribute. Never use a sharp tool — it splits yarn fibers.
- Pause and check. Squeeze the piece. Look at it from multiple angles. Smooth bumps from outside with your fingers.
- Stop before sealing the opening. Stuff to 90% of your target firmness, then add a final pinch to reach 100% just before you close the opening — this prevents the seam from gaping.
Which Tools Make Stuffing Easier?
You don't need much, but the right tools speed things up dramatically:
- Wooden chopsticks — the single best tool. Round tip won't split yarn, long reach gets into narrow legs.
- Back of your crochet hook — works for medium parts.
- Hemostat or long forceps — game-changer for tiny limbs and ear tips.
- Bamboo skewer — for the tiniest amigurumi (under 4 cm).
- Stuffing fork (specialty tool) — distributes fiberfill evenly in large body cavities; available at most craft stores.
Avoid: pencils with sharp points, knitting needles with pointed tips, and tweezers (too short and they pinch fibers into clumps).
How Do I Shape Amigurumi While Stuffing?
Stuffing isn't just about filling — it's the sculpting stage of your project. Most amigurumi shapes can be subtly modified through clever stuffing:
- Round head: Stuff in concentric layers from the inside out, packing the center firmly so the spherical shape pushes outward evenly.
- Pear-shaped body: Pack the bottom firmly and the top lightly — the weight settles naturally to create the silhouette.
- Cheeks / muzzle: After main head stuffing, add a small extra pinch behind each cheek area through the neck opening before closing.
- Posable arms: Stuff only to 60%, leave the upper arm joint nearly empty. Arms can then be bent into hugging or waving positions.
- Standing legs: Pack the foot area firm and the calf area firm-medium. Hollow knees won't support body weight.
How Do You Weight Amigurumi So They Sit Up?

Larger or display-piece amigurumi often need extra weight at the base so they sit upright instead of toppling over. There are three reliable methods:
- Plastic poly pellets in a pouch: Sew a small muslin or cotton pouch, fill with poly pellets, place at the base, then surround with fiberfill. This is the gold standard.
- Glass beads in a pouch: Same technique, heavier weight — best for very large pieces.
- Aquarium gravel (sealed in a baggie + pouch): Budget option. Always double-bag to prevent leaks.
Safety note: Never use loose pellets, beads, or gravel in amigurumi intended for children under 3 — choking hazard if a seam opens. For kid-safe weighting, sew the inner pouch with strong seams and double-stitch the outer closure.
Which Stuffing Mistakes Should You Avoid?
After reviewing thousands of community photos, these are the five most common stuffing errors and how to fix each:
- 1. Stuffing in giant clumps. Creates visible lumps that won't smooth out. Fix: always pinch-and-fluff, never push compressed fiberfill in.
- 2. Stuffing only at the end. The bottom of long tubes stays hollow. Fix: stuff as you go, especially for limbs.
- 3. Overstuffing the head. Stretches stitches, makes white fiberfill visible. Fix: pack firm, but stop when stitches start spreading.
- 4. Understuffing the body. Plushie collapses, head flops backward. Fix: stuff body to 85-90%, especially around the neck area.
- 5. Using the wrong fiberfill. Cheap, coarse polyester clumps within weeks. Fix: invest in high-loft brands like Poly-Fil Premium.
- 6. Skipping the fluff step. Compressed fiberfill from the bag never smooths out. Fix: spend 2 seconds per pinch fluffing.
- 7. Using cotton balls or old fabric. Both matt and clump within days. Fix: use only purpose-made fiberfill.
- 8. Closing before final check. You can't fix lumps after sewing closed. Fix: always do a "squeeze and inspect" before invisible-decrease closure.
Can You Fix a Badly Stuffed Amigurumi?
Yes — and you don't always have to open the seam. Here are three repair techniques:
- External smoothing: Roll the plushie firmly between your palms or against a tabletop. Light lumps will redistribute.
- Steam softening: Hold a steamer 10 cm away for 5 seconds, then immediately re-shape. The fibers loosen and accept new shaping.
- Surgical re-stuffing: If lumps are severe, carefully undo the closing seam (usually 5-10 stitches), remove problematic fiberfill, re-stuff correctly, and re-close. The yarn won't unravel as long as you only undo the closing seam.
For chronic sagging on older plushies, you can also add a small amount of fiberfill through a tiny seam opening — close with invisible matching-yarn stitches afterward.
🧶 Patterns You'll Love
Practice your new stuffing skills on patterns designed for clean, professional finishes:
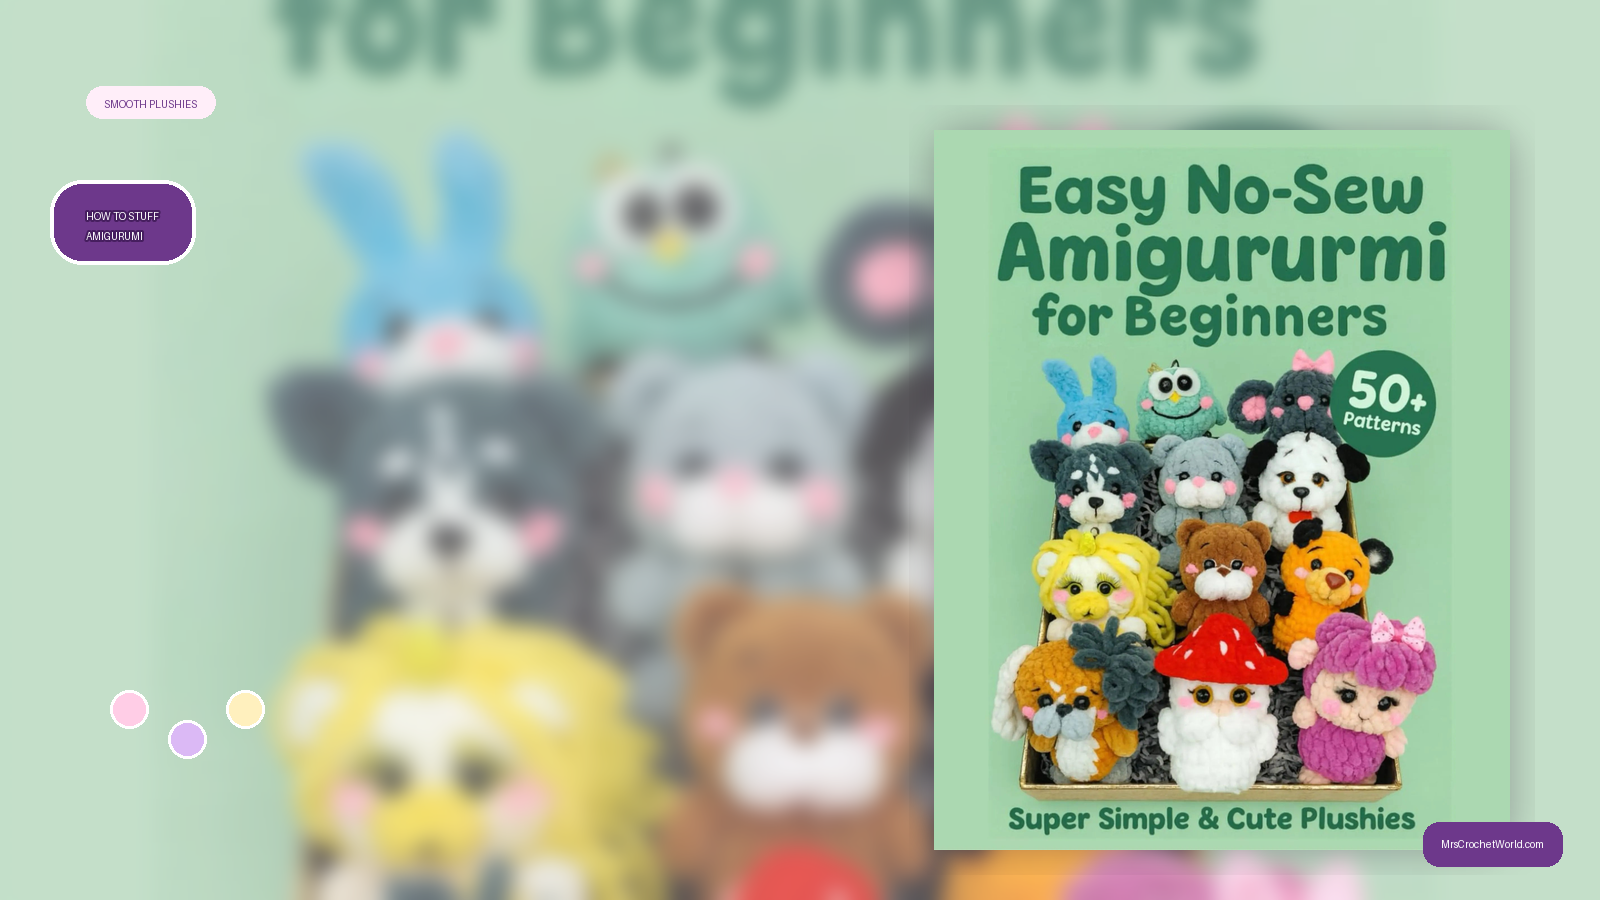
- Easy No-Sew Amigurumi Book for Beginners — 50 super-simple patterns where stuffing technique makes the biggest visual difference.
- 50-in-1 No-Sew Amigurumi Bundle PDF — practice on a variety of body shapes and sizes, perfect for mastering different stuffing densities.
- Care Bears Crochet Pattern Book — soft, rounded shapes that highlight perfect stuffing technique.
- Browse all MCW Crochet Pattern Books — full library of beginner-friendly amigurumi.
Frequently Asked Questions
What is the best stuffing for amigurumi?
High-loft 100% polyester fiberfill (such as Poly-Fil Premium, Fairfield, or Mountain Mist deluxe) is the gold standard. It's soft, springy, washable, hypoallergenic, and resists matting over time.
How firmly should I stuff amigurumi?
The right firmness should feel like a ripe peach — gives slightly under pressure but bounces back. Heads should be packed firm (95-100%), bodies 85-90%, limbs 70-80%. If stitches stretch open and fiberfill shows through, you've overstuffed.
Can I use cotton balls to stuff amigurumi?
No. Cotton balls matt and clump within days, creating permanent lumps that can't be smoothed out. Always use purpose-made polyester fiberfill.
How much fiberfill do I need for one amigurumi?
A medium amigurumi (15-20 cm tall) uses roughly 30-50 grams of fiberfill. A standard 280g bag of premium fiberfill stuffs 8-12 medium plushies.
Why does my amigurumi look lumpy after stuffing?
Three usual causes: stuffing in large clumps instead of small pinches, skipping the fluffing step, or using cheap coarse fiberfill. Fix by re-stuffing with fluffed pinches of high-loft polyester.
Can amigurumi stuffing be washed?
Yes — polyester fiberfill is fully washable. Hand-wash the finished plushie in lukewarm water with mild soap, gently squeeze (don't wring), then air-dry on a flat surface. Avoid the dryer, which can compress the fiberfill.
How do I make my amigurumi stand up?
Add weight at the base using poly pellets or glass beads sewn into a small inner pouch, then surround with fiberfill. Pack the legs and feet very firmly. Avoid loose pellets in kid-safe plushies.
Should I stuff arms and legs of amigurumi?
Yes for most patterns, but lightly (70-80% fill) so they remain bendable. Tiny ears, small tails, and decorative appendages often look better unstuffed and pressed flat.
What tool is best for stuffing amigurumi?
A wooden chopstick is the most versatile. For tiny pieces, use a bamboo skewer or hemostat. For large body cavities, a stuffing fork (sold at most craft stores) saves time. Avoid anything sharp — it splits yarn fibers.
Can I fix an already-finished amigurumi that's understuffed?
Yes. Carefully undo the closing seam (5-10 stitches), add more fluffed fiberfill, and re-close with invisible mattress-stitch using matching yarn. The body crochet won't unravel as long as you only undo the closing seam.
Is polyester fiberfill safe for babies and kids?
Yes, polyester fiberfill is non-toxic and hypoallergenic. For children under 3, however, never combine fiberfill with loose pellets, plastic eyes, or buttons — use safety eyes only, and reinforce all seams.
The Bottom Line: Master Stuffing, Master Amigurumi
Great amigurumi isn't just about perfect stitches — it's about how you bring those stitches to life with structure. Use high-loft 100% polyester fiberfill, work in small fluffed pinches, stuff as you go, and adjust firmness by body part. Spend the extra 90 seconds per project to do it properly and your plushies will look gift-shop quality instead of homemade. Once you've got the technique down, every pattern from a tiny keychain to a large display piece becomes dramatically easier to finish well. Practice on a simple no-sew amigurumi first, get a feel for the right firmness, and you'll never look at a bag of fiberfill the same way again.
Ready to Practice with Beginner-Friendly Patterns?
Master your new stuffing skills on simple, no-sew amigurumi designed for clean, professional finishes.
Shop the No-Sew Amigurumi Book